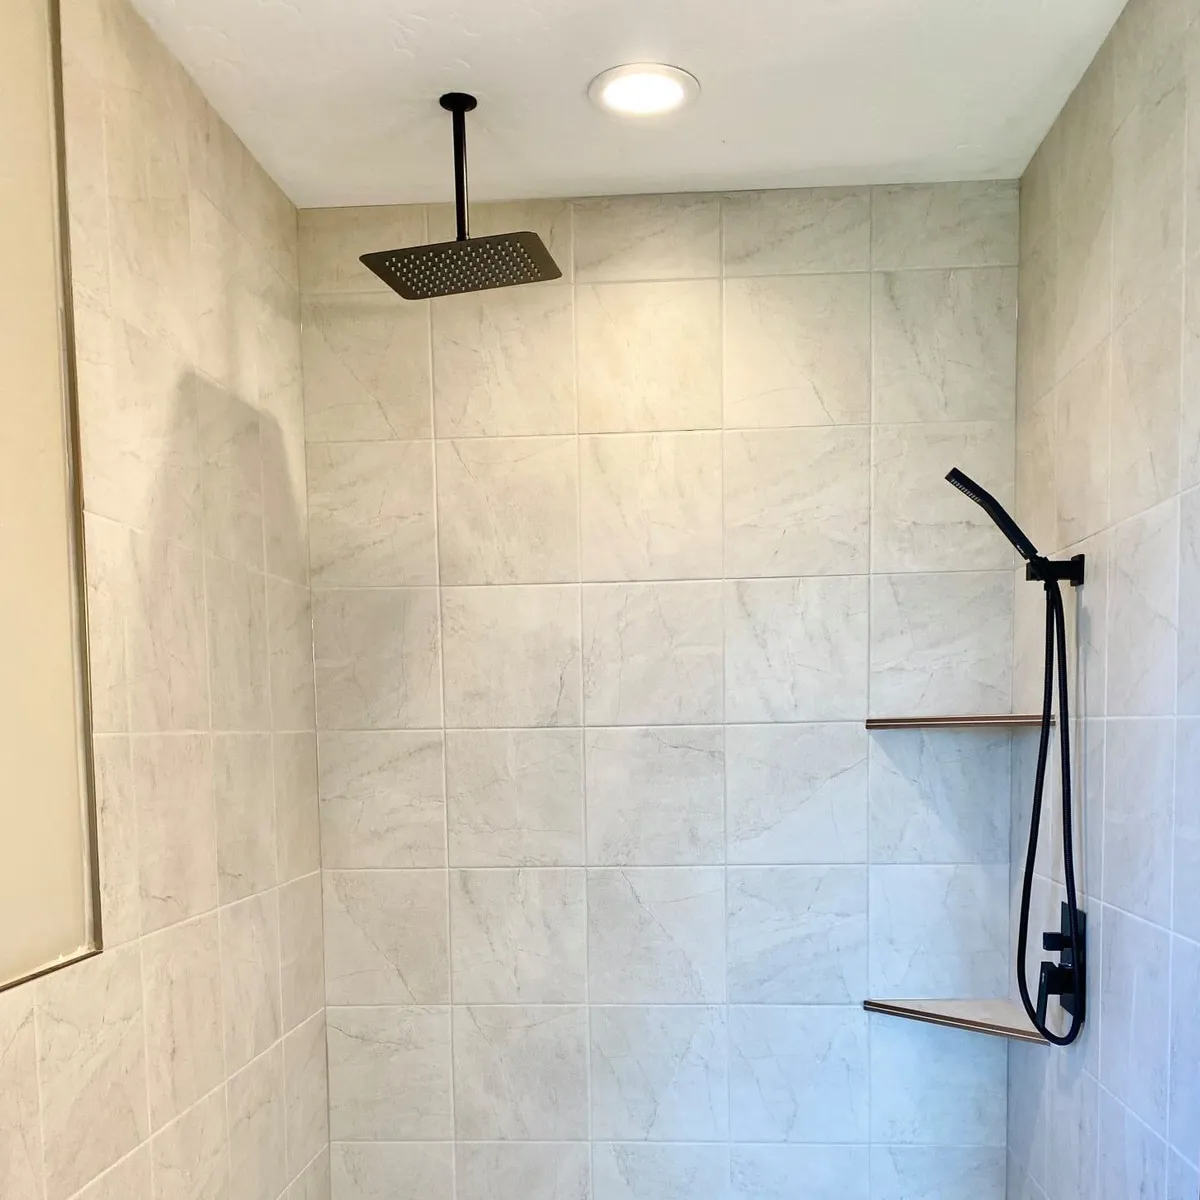
New Construction Tile Project In Idaho
“Join Timeless Creations Tiling As We Journey Through A New Construction Tile Installation Project ! ” - Article By: Micah Kissee
Introduction:
If you've ever wondered what goes in to tiling a new construction home in Idaho, chances are you enjoy the art and beauty a well tiled project can bring to a home.
Whether you are the home owner or the home builder, a professional tile installer is an asset who can make or break the final outcomes of any project. And for this reason, it is extremely important to understand the industry standard in process for properly and professionally setting tile.
Today we will walk through the proper process for tiling a new construction home in Idaho, providing you with a baseline knowledge for the required tasks and the order in which they should be completed.
This project was completed for a very talented Idaho based building company called Hannu Homes.
On our Journey, we'll take you from the framework all the way to this beautifully completed master bathroom.

Where to Start:
When showing up to a new construction tile project, often times we arrive to job sites which look like this:
Pictured below you will see the area where we will build the porcelain tile master shower.
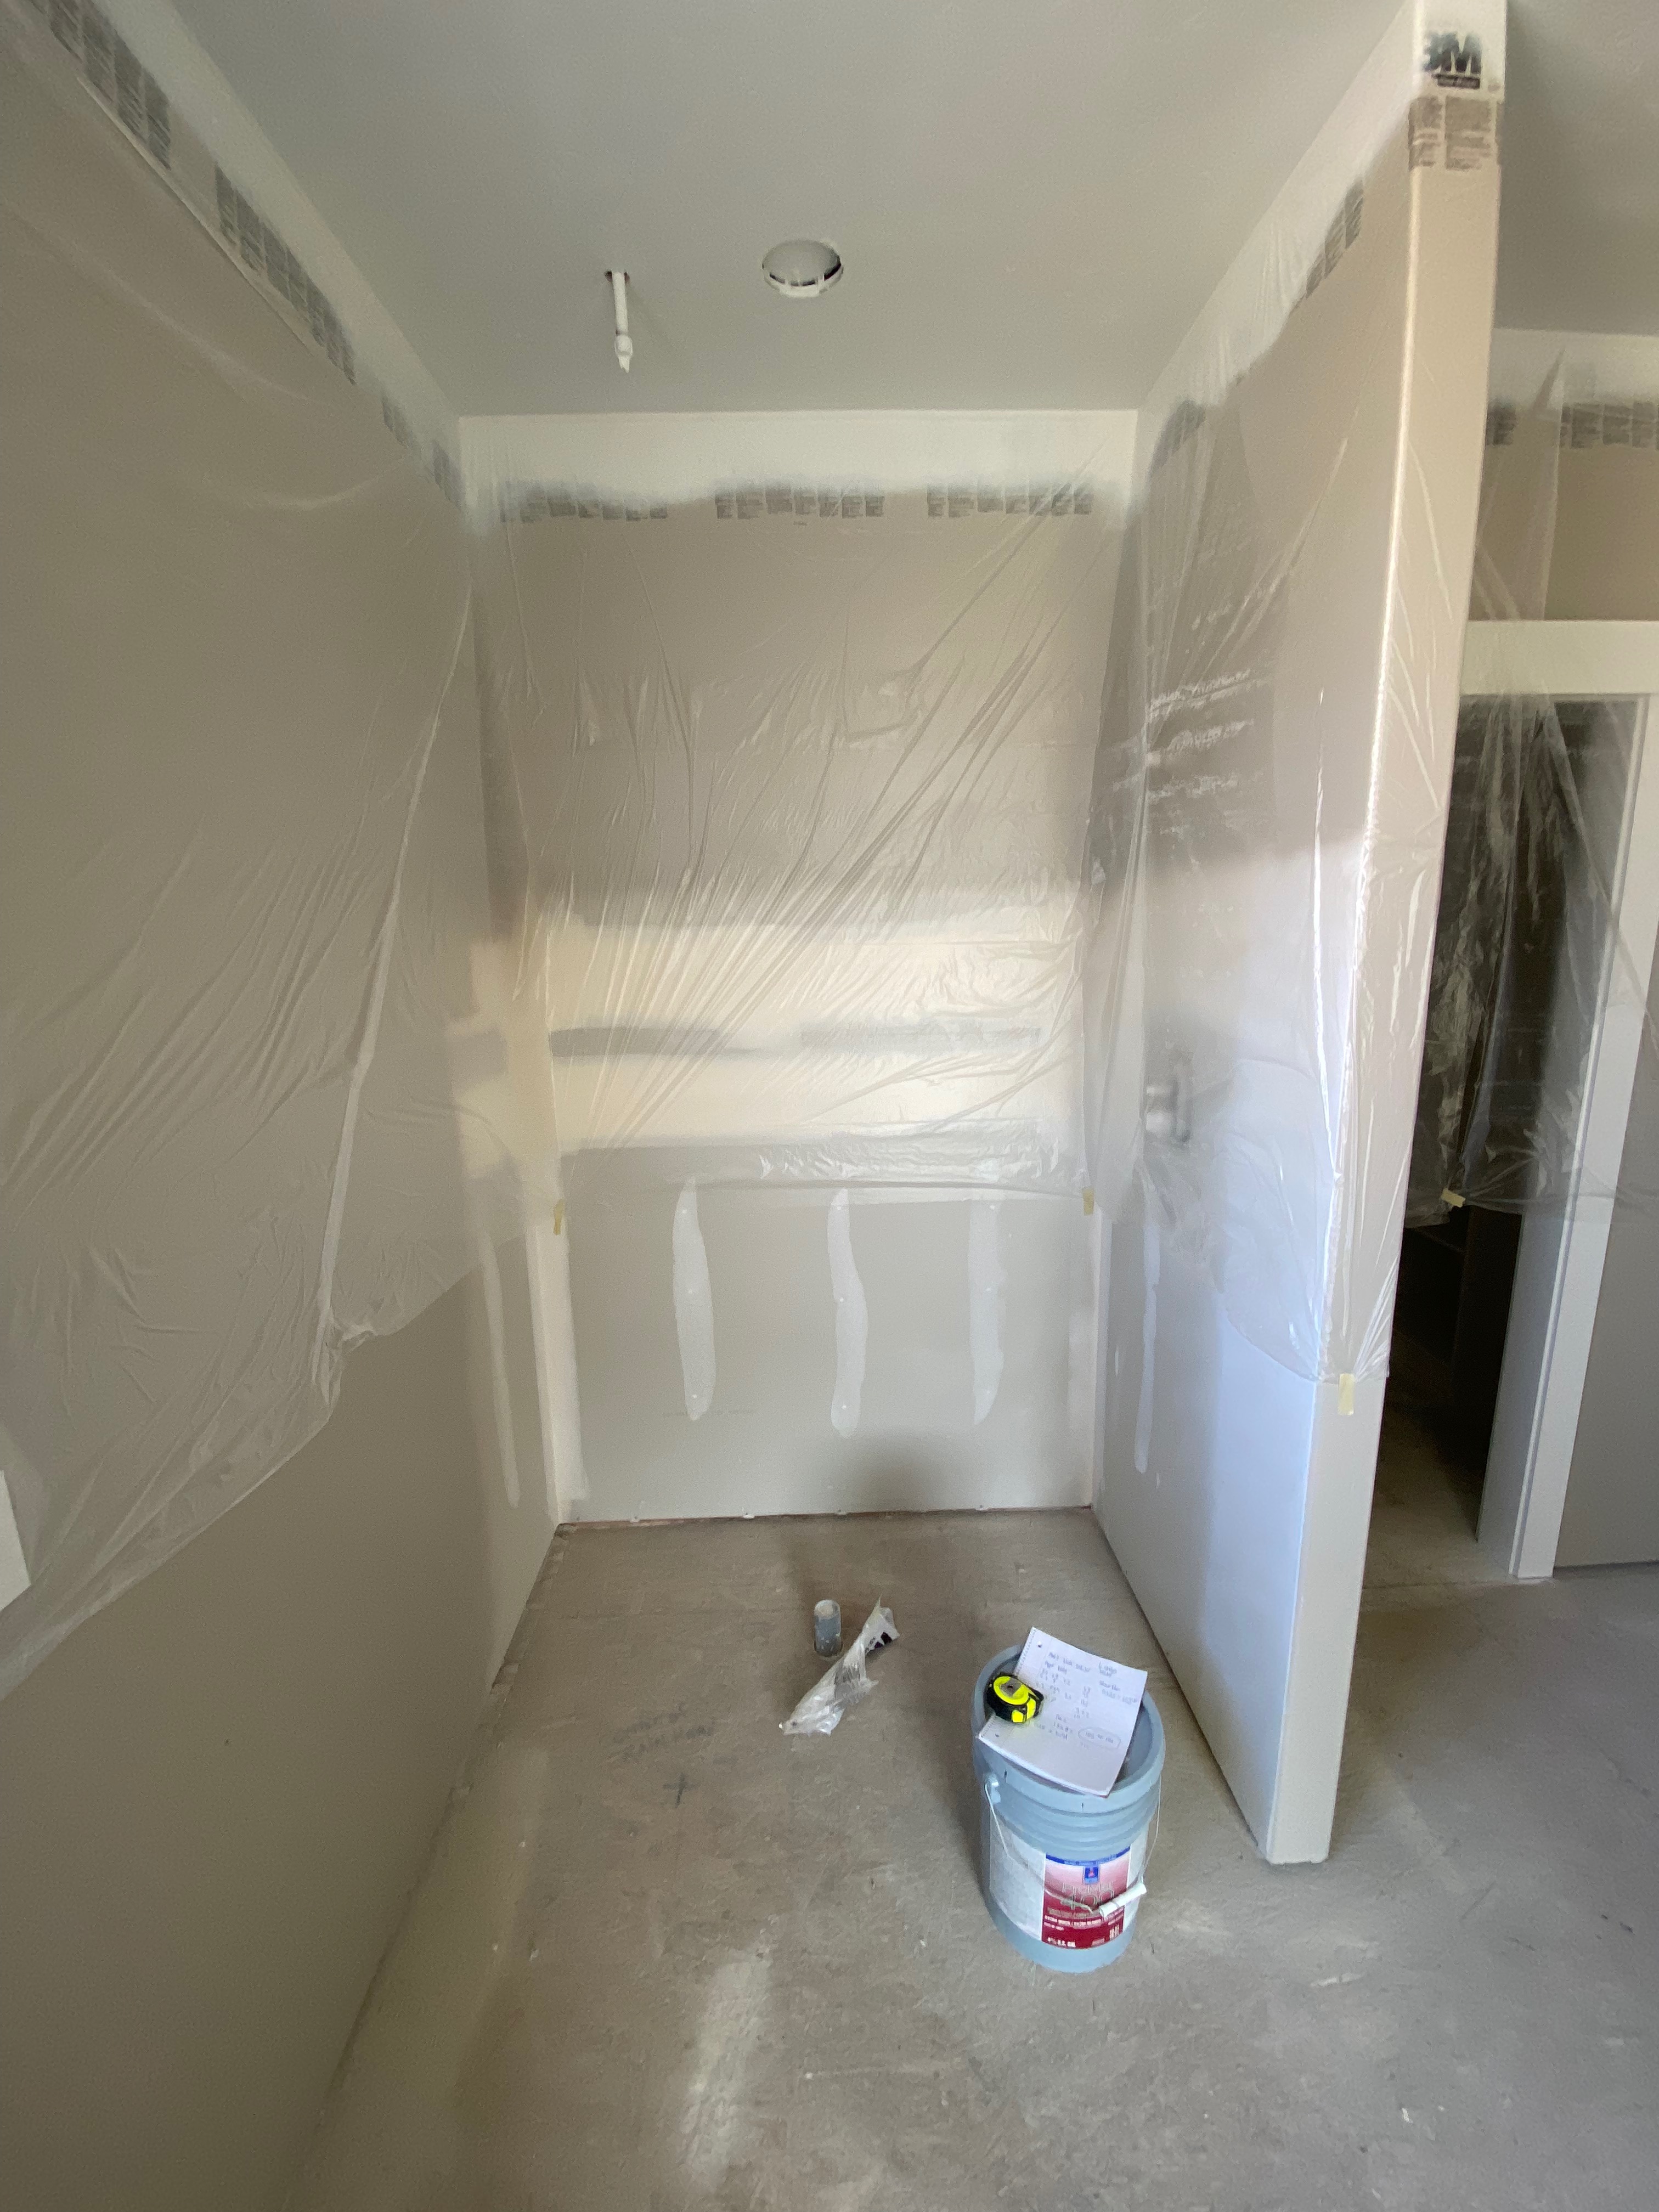
The walls are prepped with firmly secured sheetrock.
Drain Pipes and rough in plumbing are already installed before we arrive on site meaning this area is ready for the installation of a waterproof shower system.
As you can see below, The whole master floor is also ready as it is prepared in a 3/4 inch tongue and groove subfloor material. There is no flex in the floor making it suitable for tile installation.
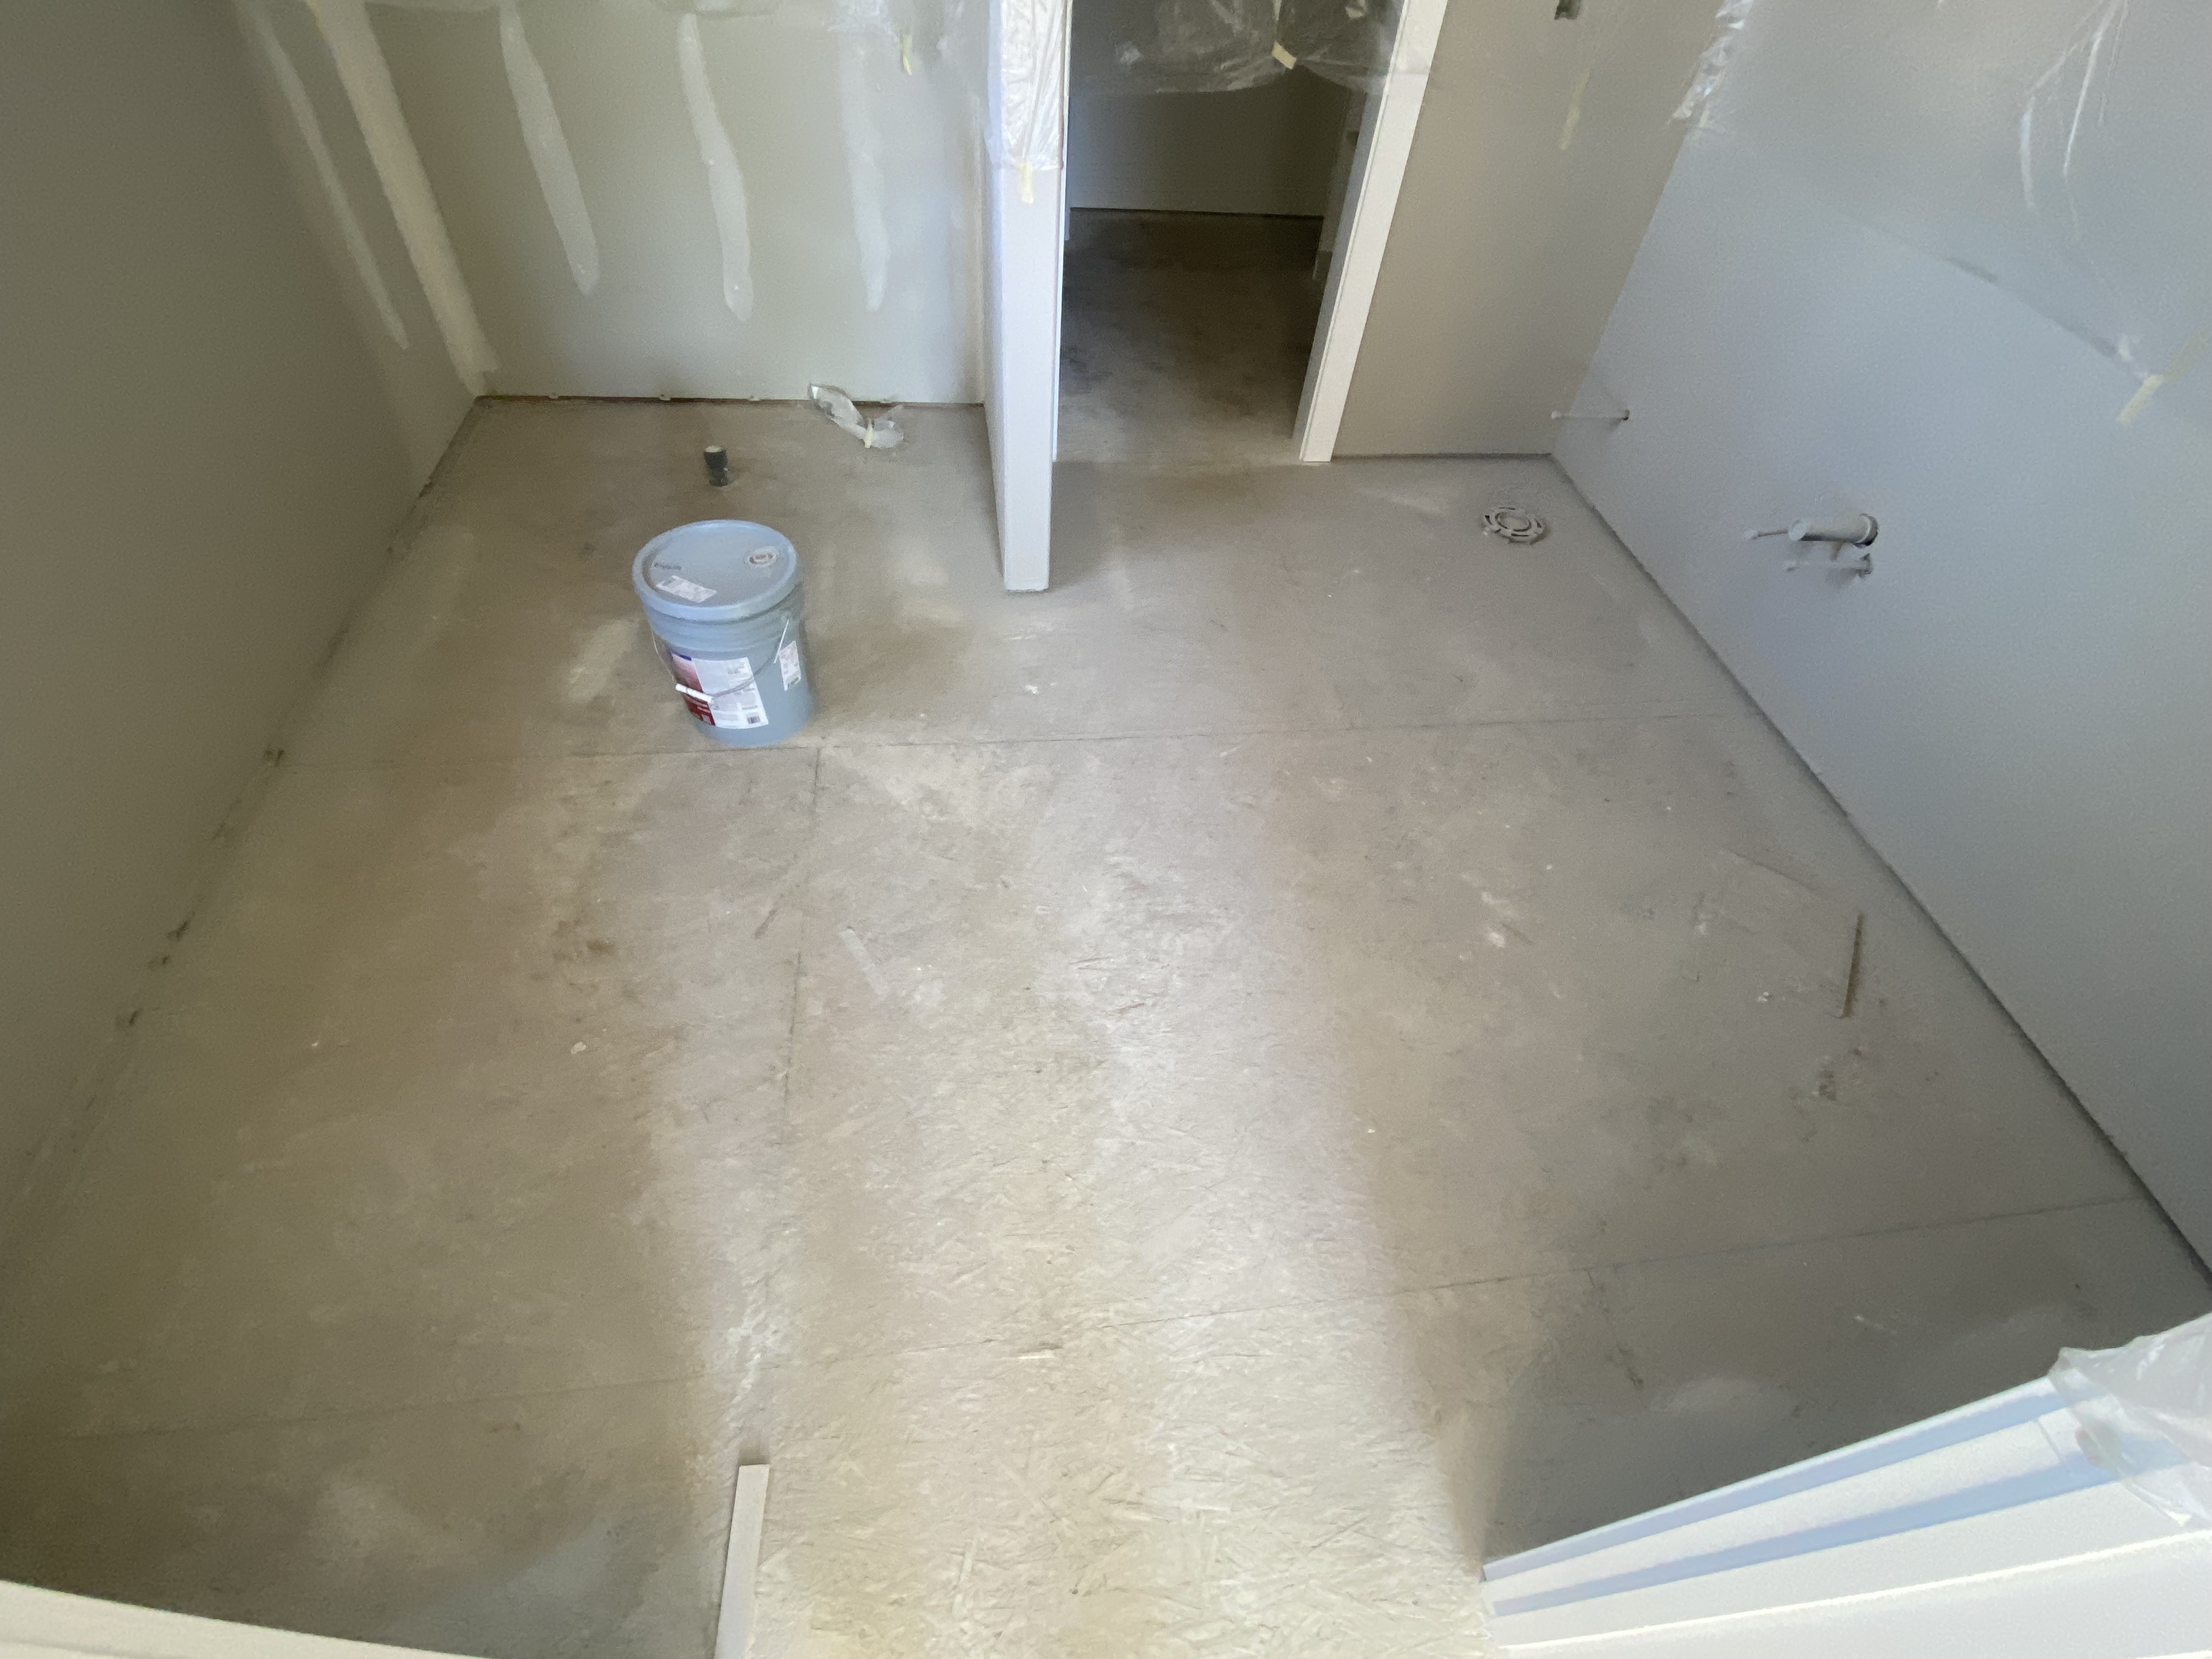
First Step on arrival is always to Clean!
After construction dust is removed and everything is washed down with a sponge, we're ready to hang waterproof in our shower.
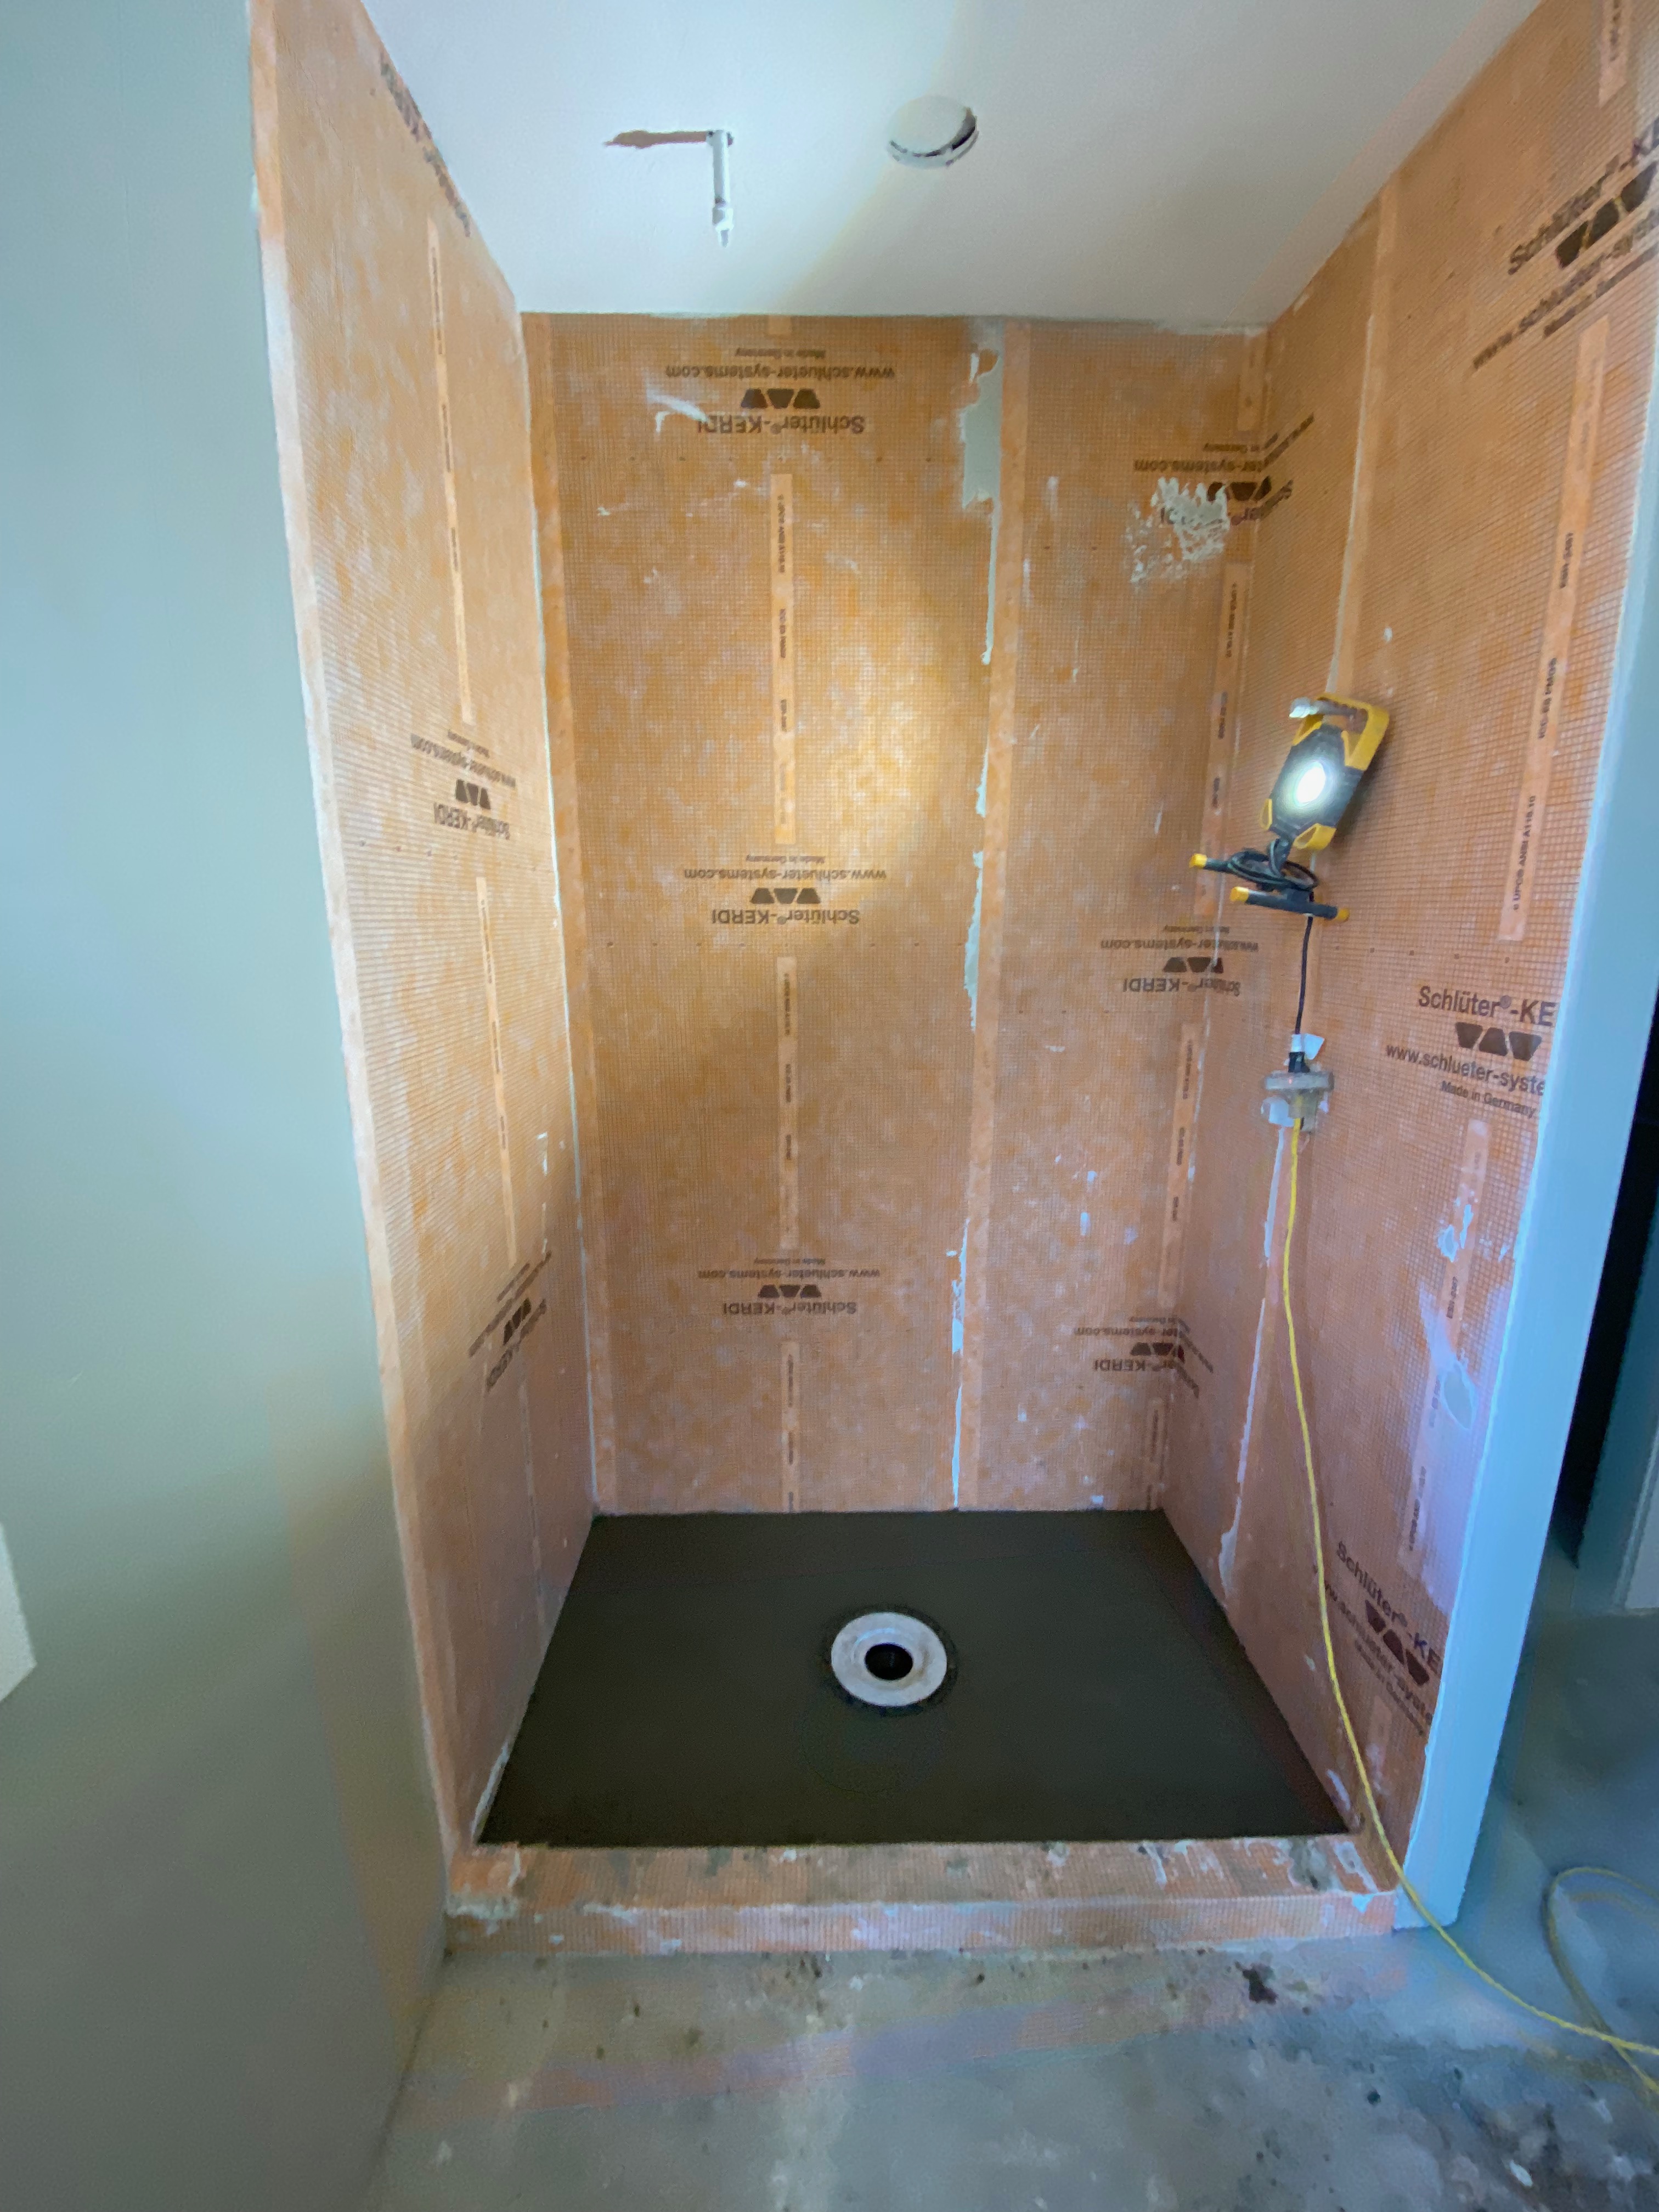
We installed a curb, hooked up our Schluter Drain Kit, and then hung each sheet of waterproof all the way to the roof on these 10 ft ceilings!
Once the waterproof was in, we used deck mud to float in a custom shower pan.
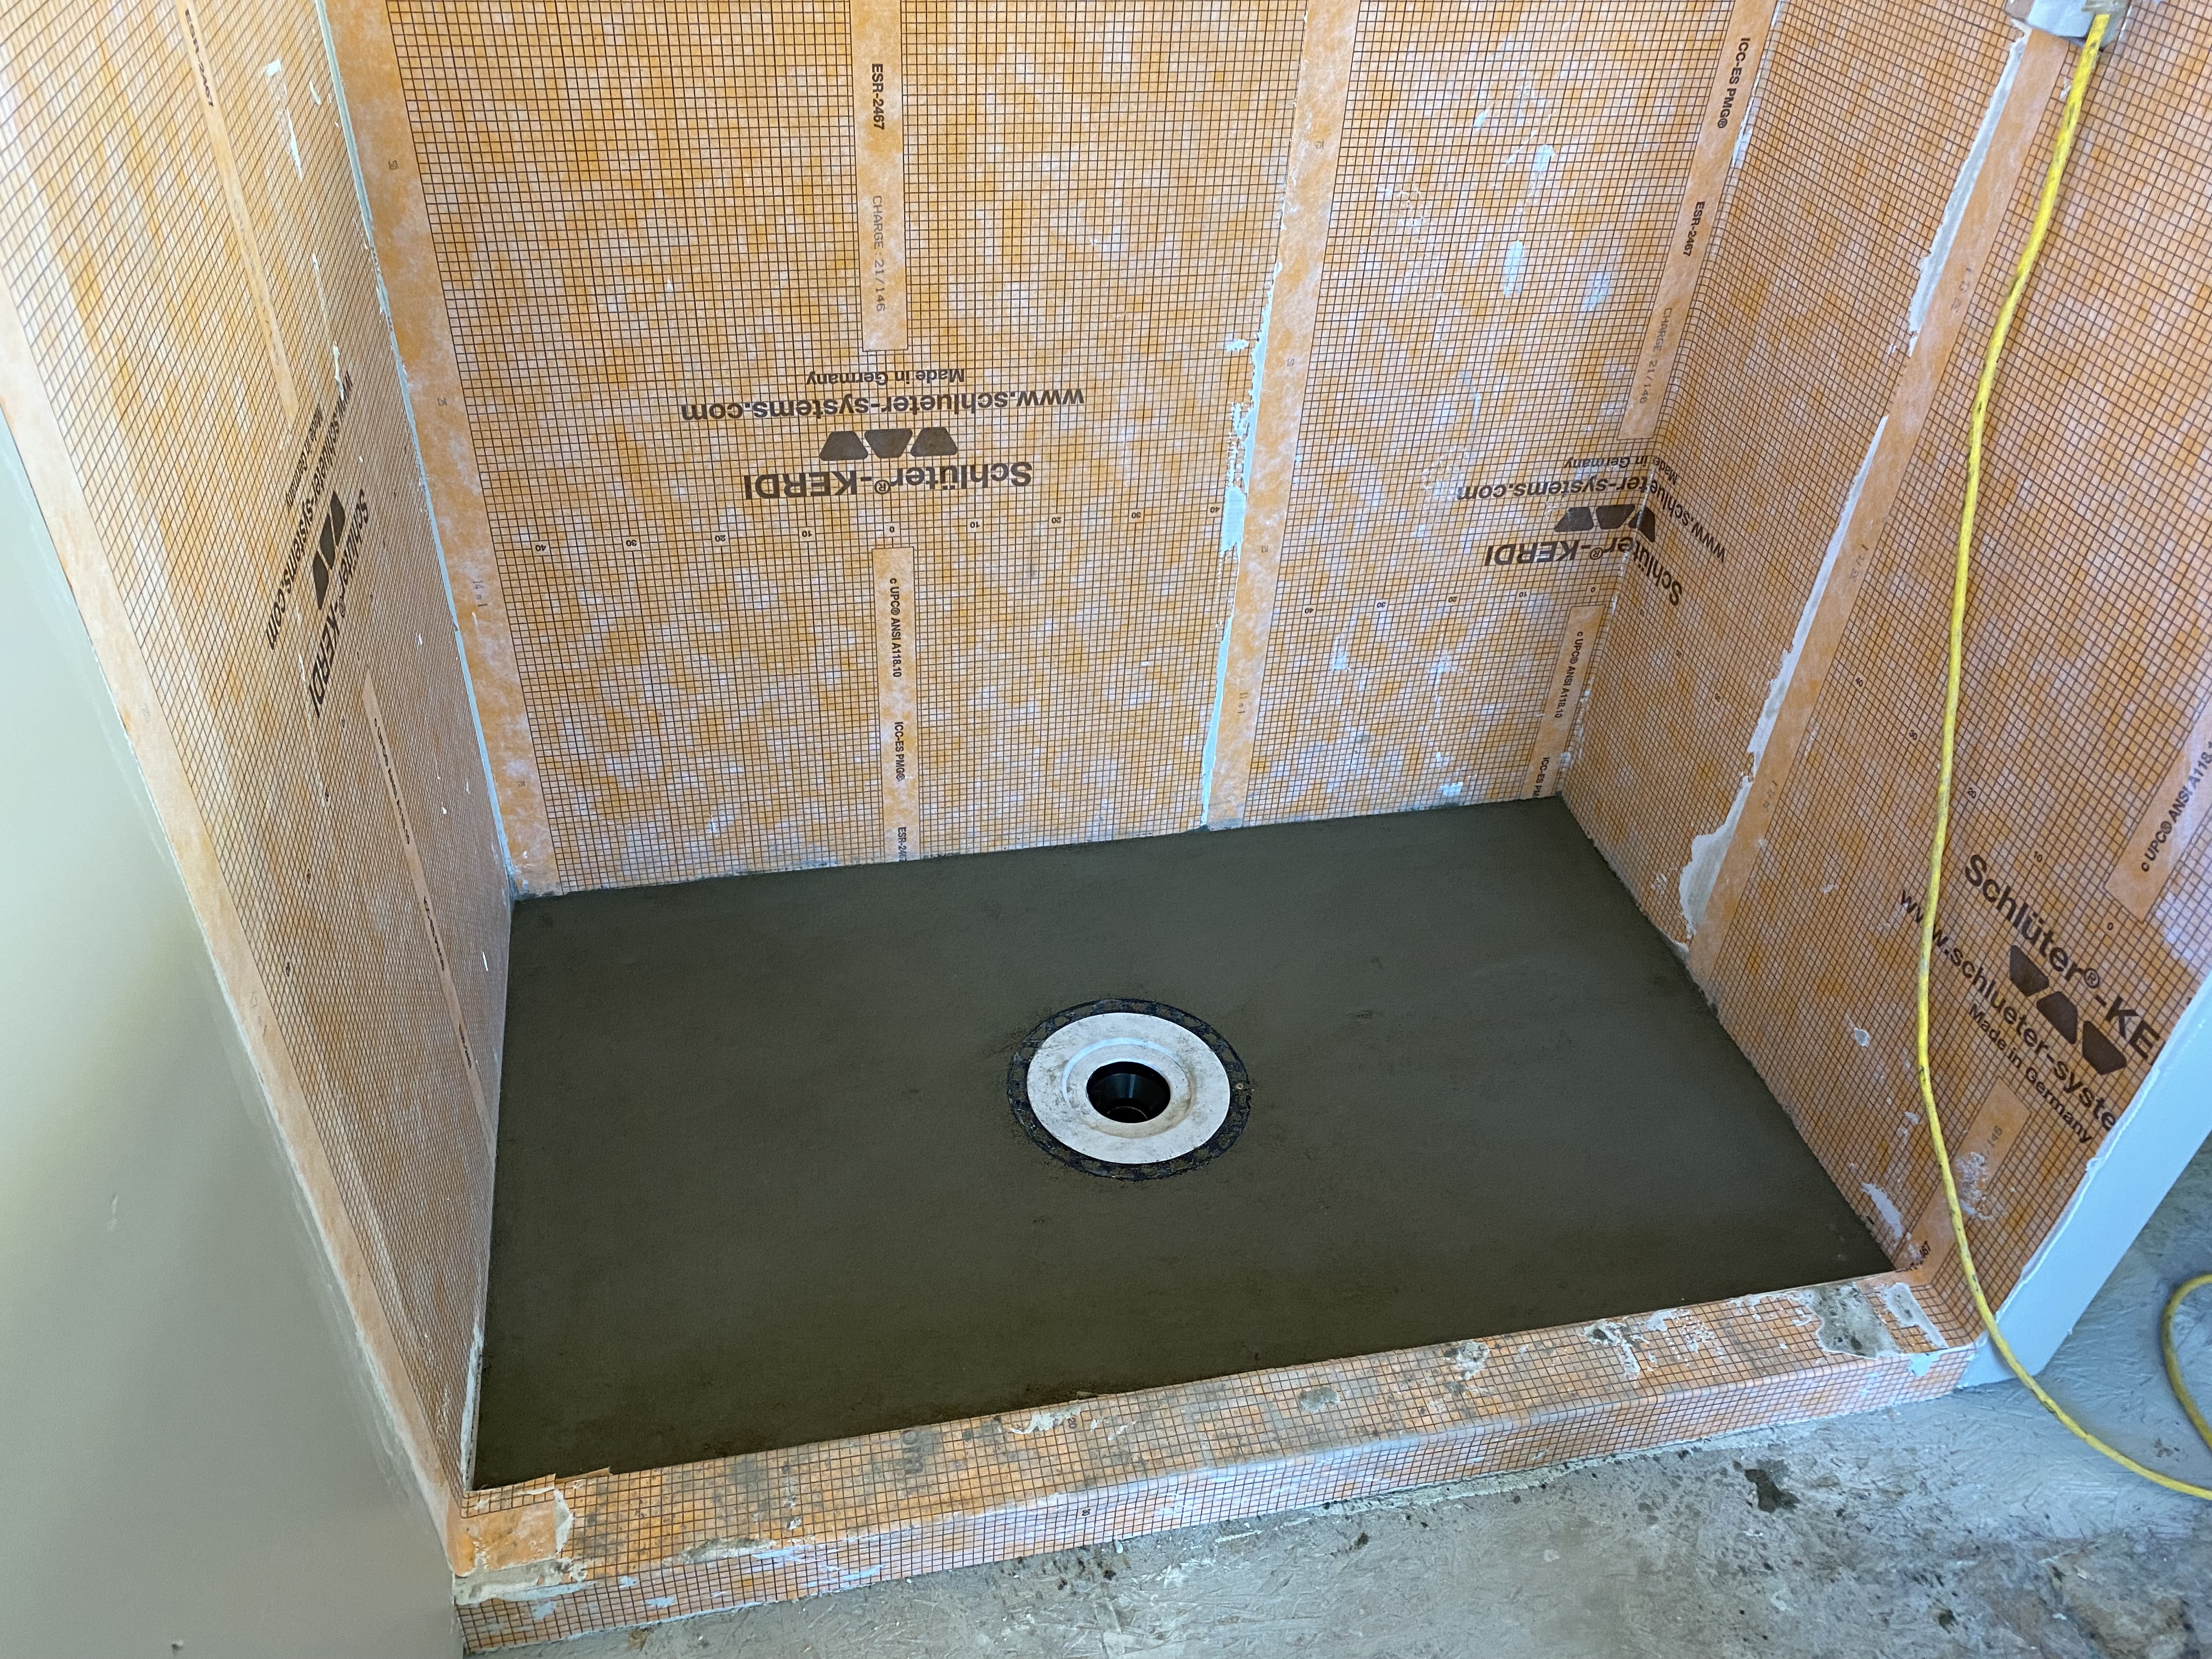
A proper shower pan is one of the most important pieces of a shower. It must be level around all sides and slope evenly towards the drain, this allows water to flow out and prevents leaks from sitting water.
After floating the shower pan, we move to the floor.
Prepping the floor:
After giving the floor another good wash, we apply modified thin set and stick our Schluter Ditra mat to the floor.
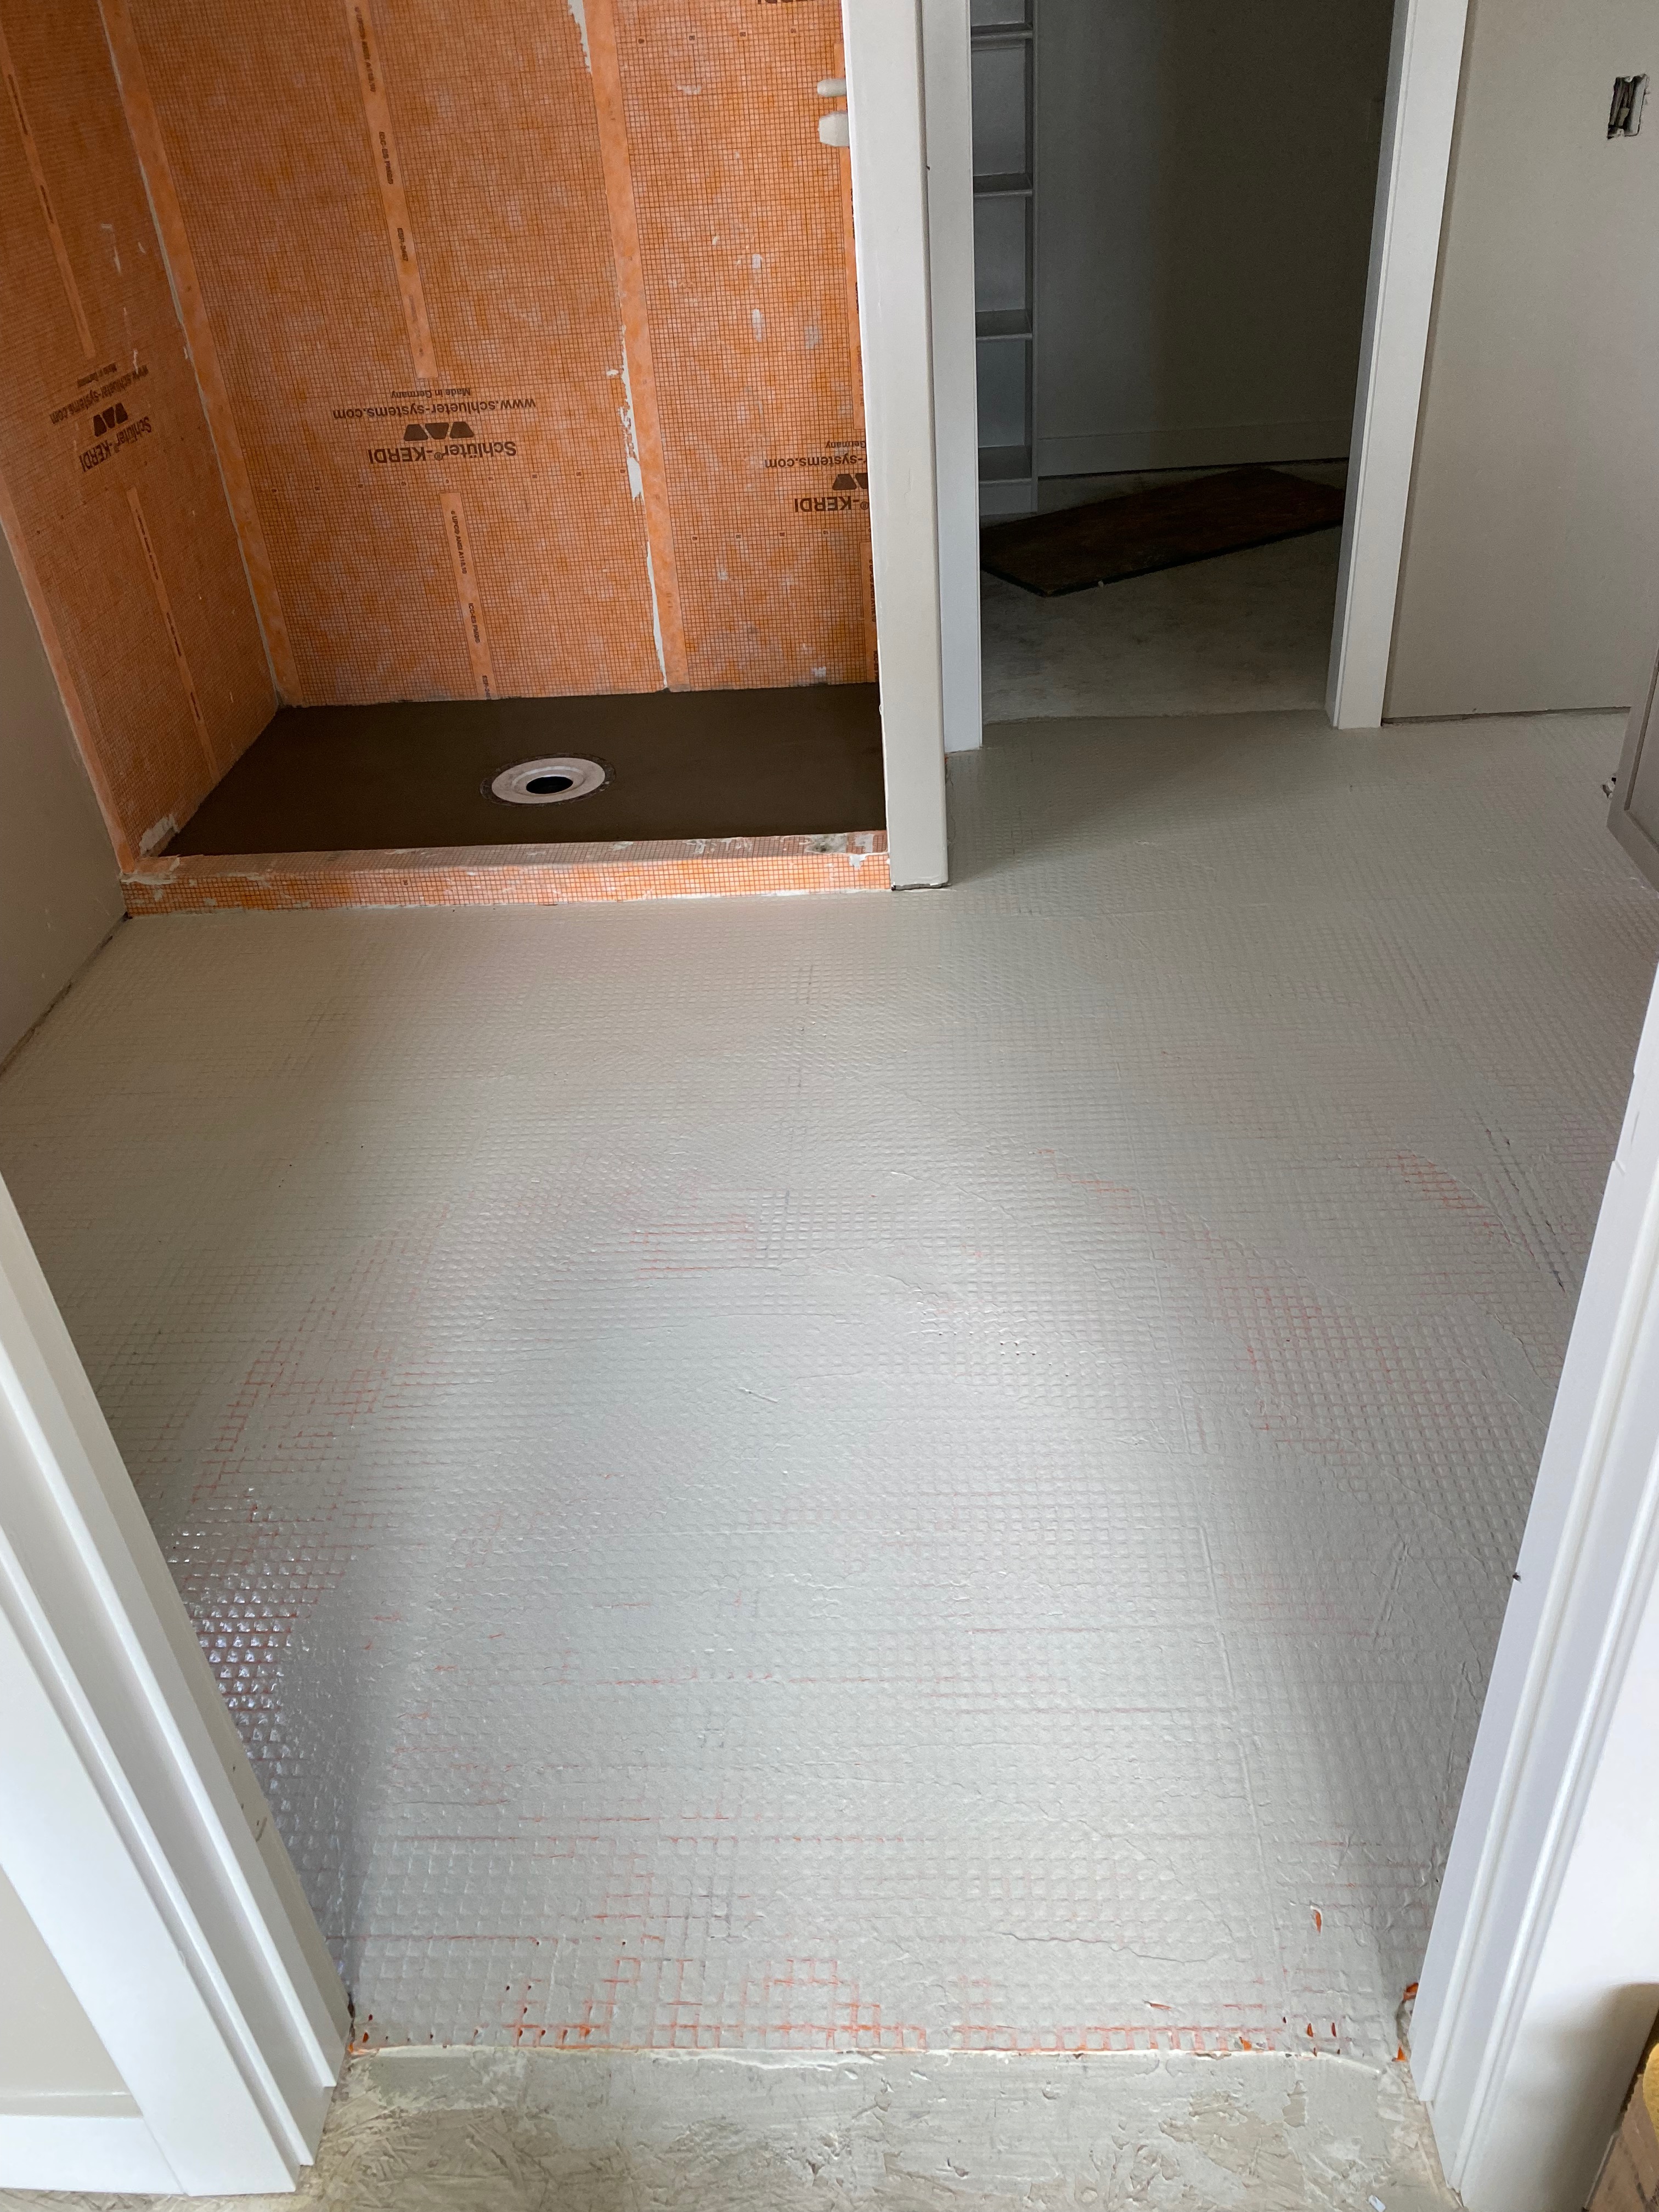
Once the mat is applied and firmly pressed in, we go back over the Ditra Mat with a skim coat of modified thin set.
This fills the holes and gives us a glass like surface to tile on when we are ready.
Next up we start tile on the Shower walls and also begin to set the master floor:
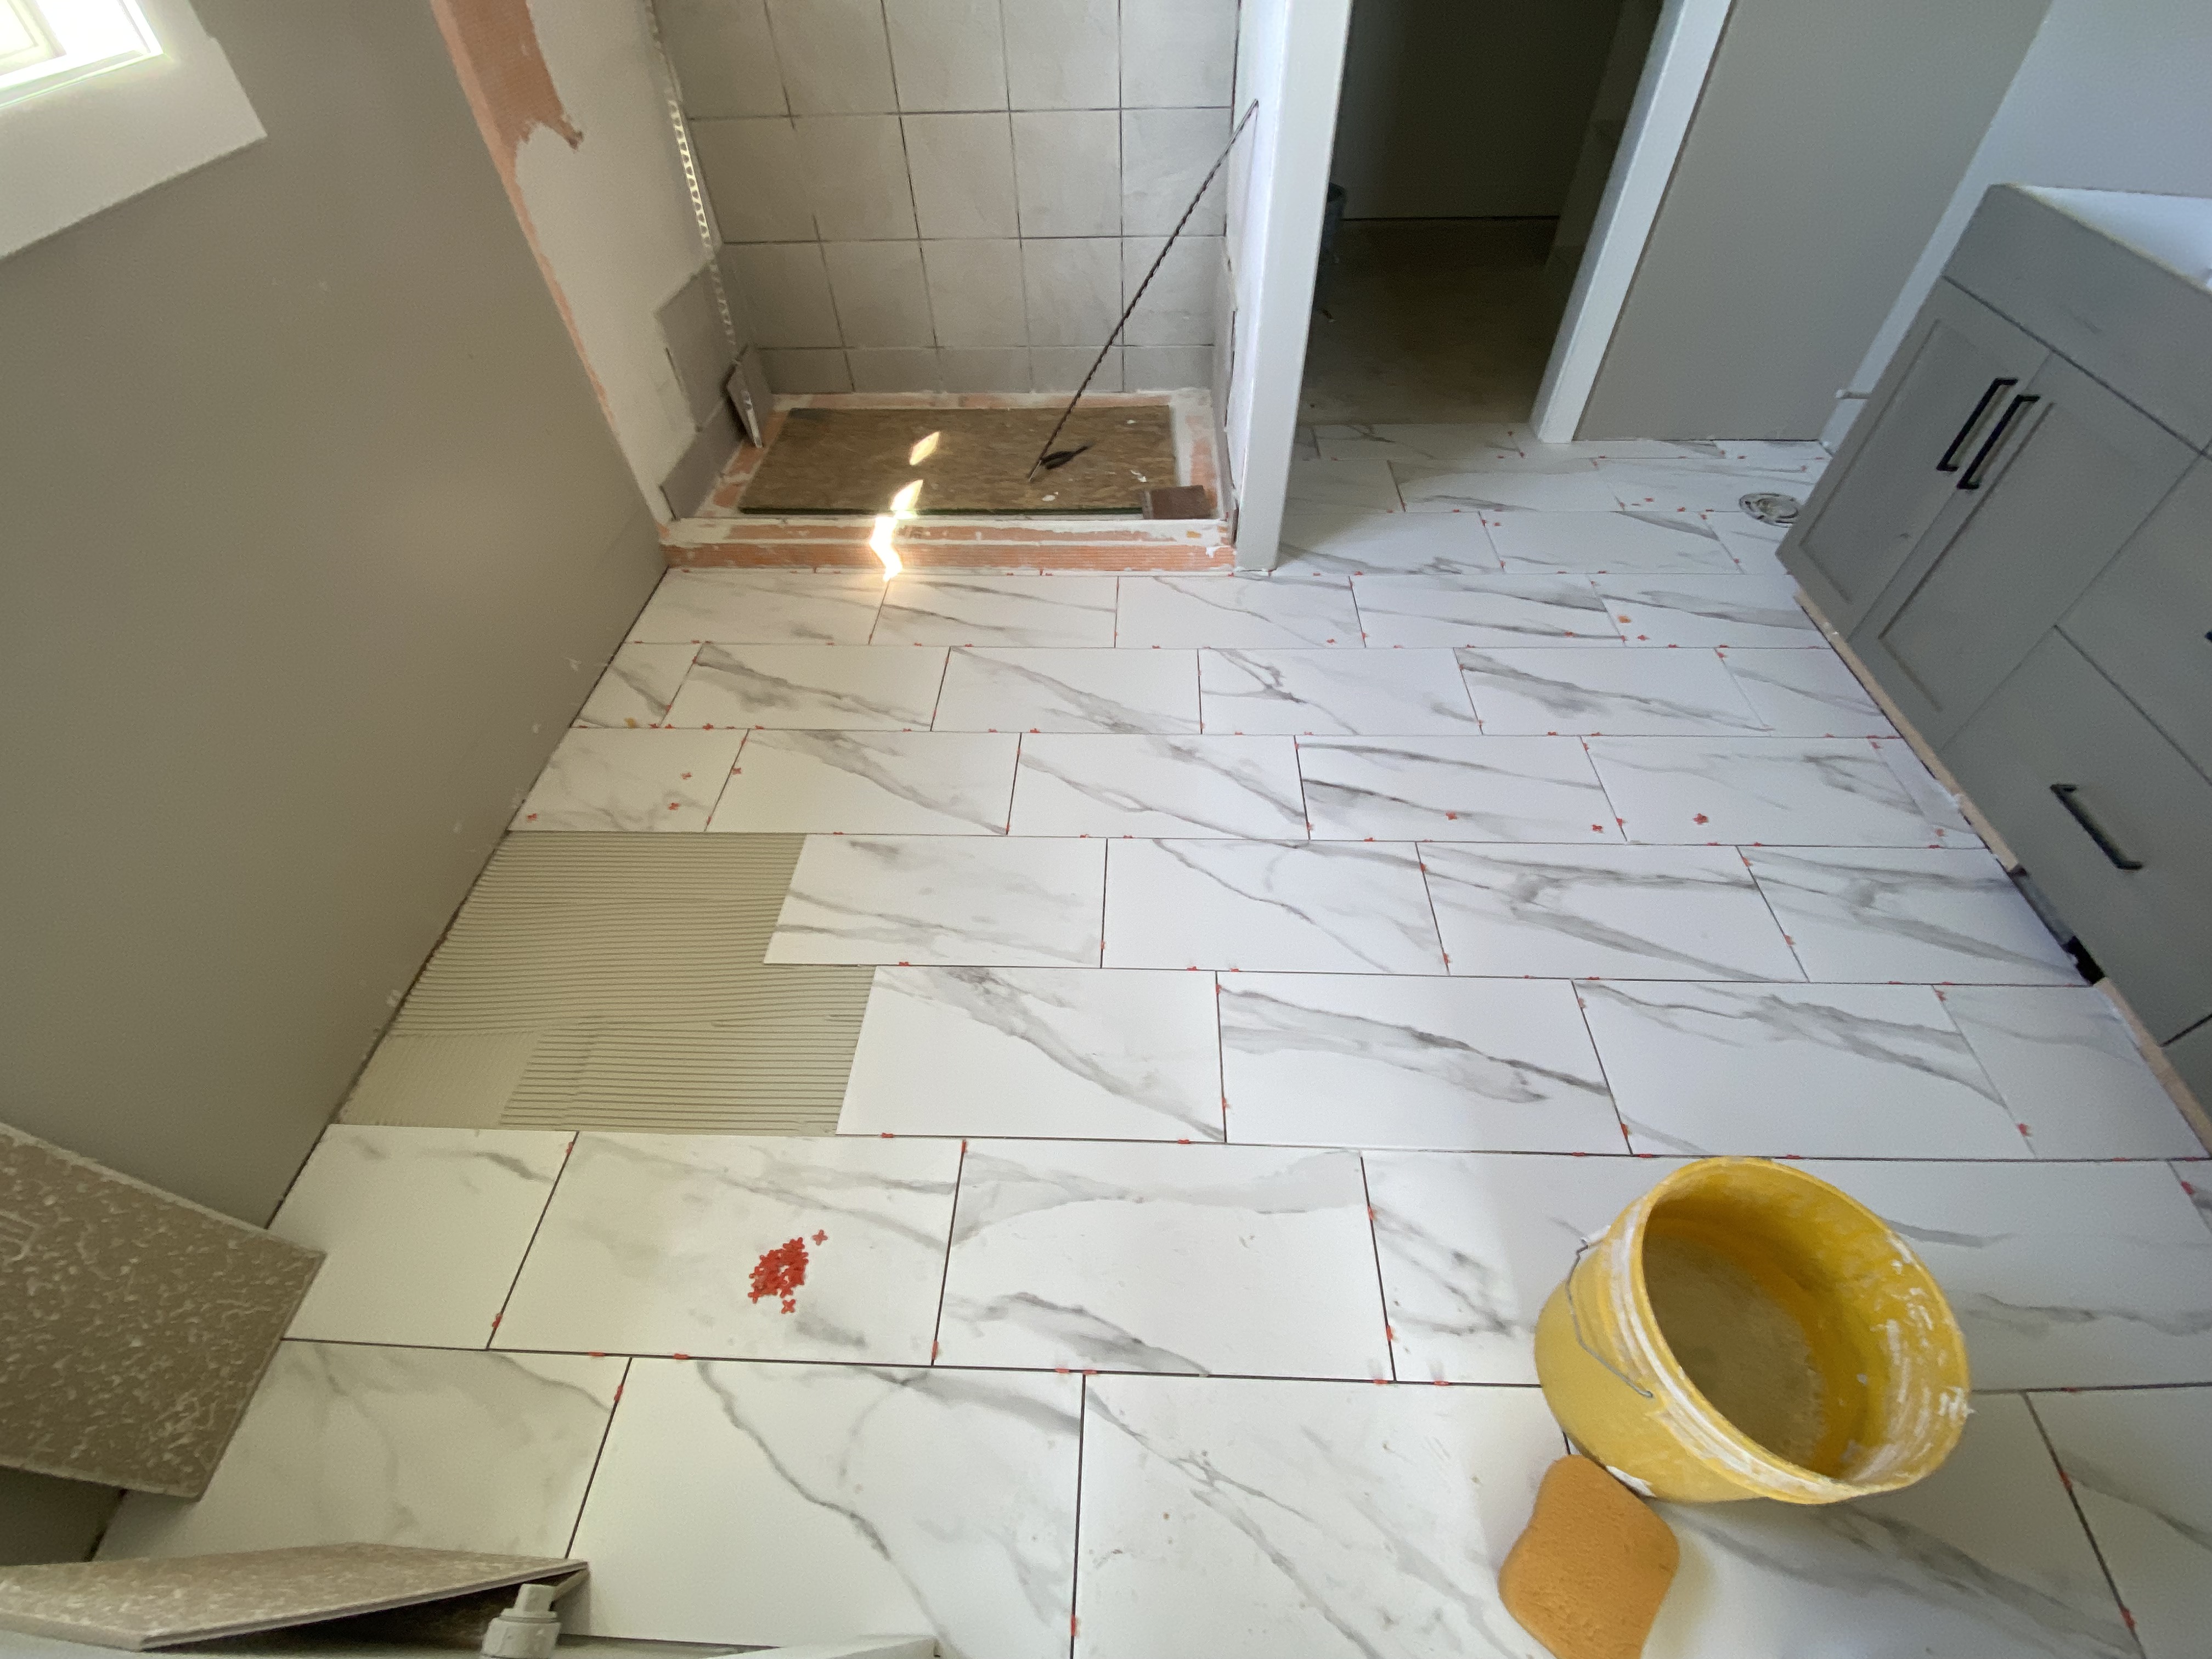
This floor was set with a 1/3 stagger pattern, giving your eyes a line to follow directly towards the shower. We do this to point your focus towards the feature.
Once the floor tile is set you can see how the bathroom is already beginning to transform.
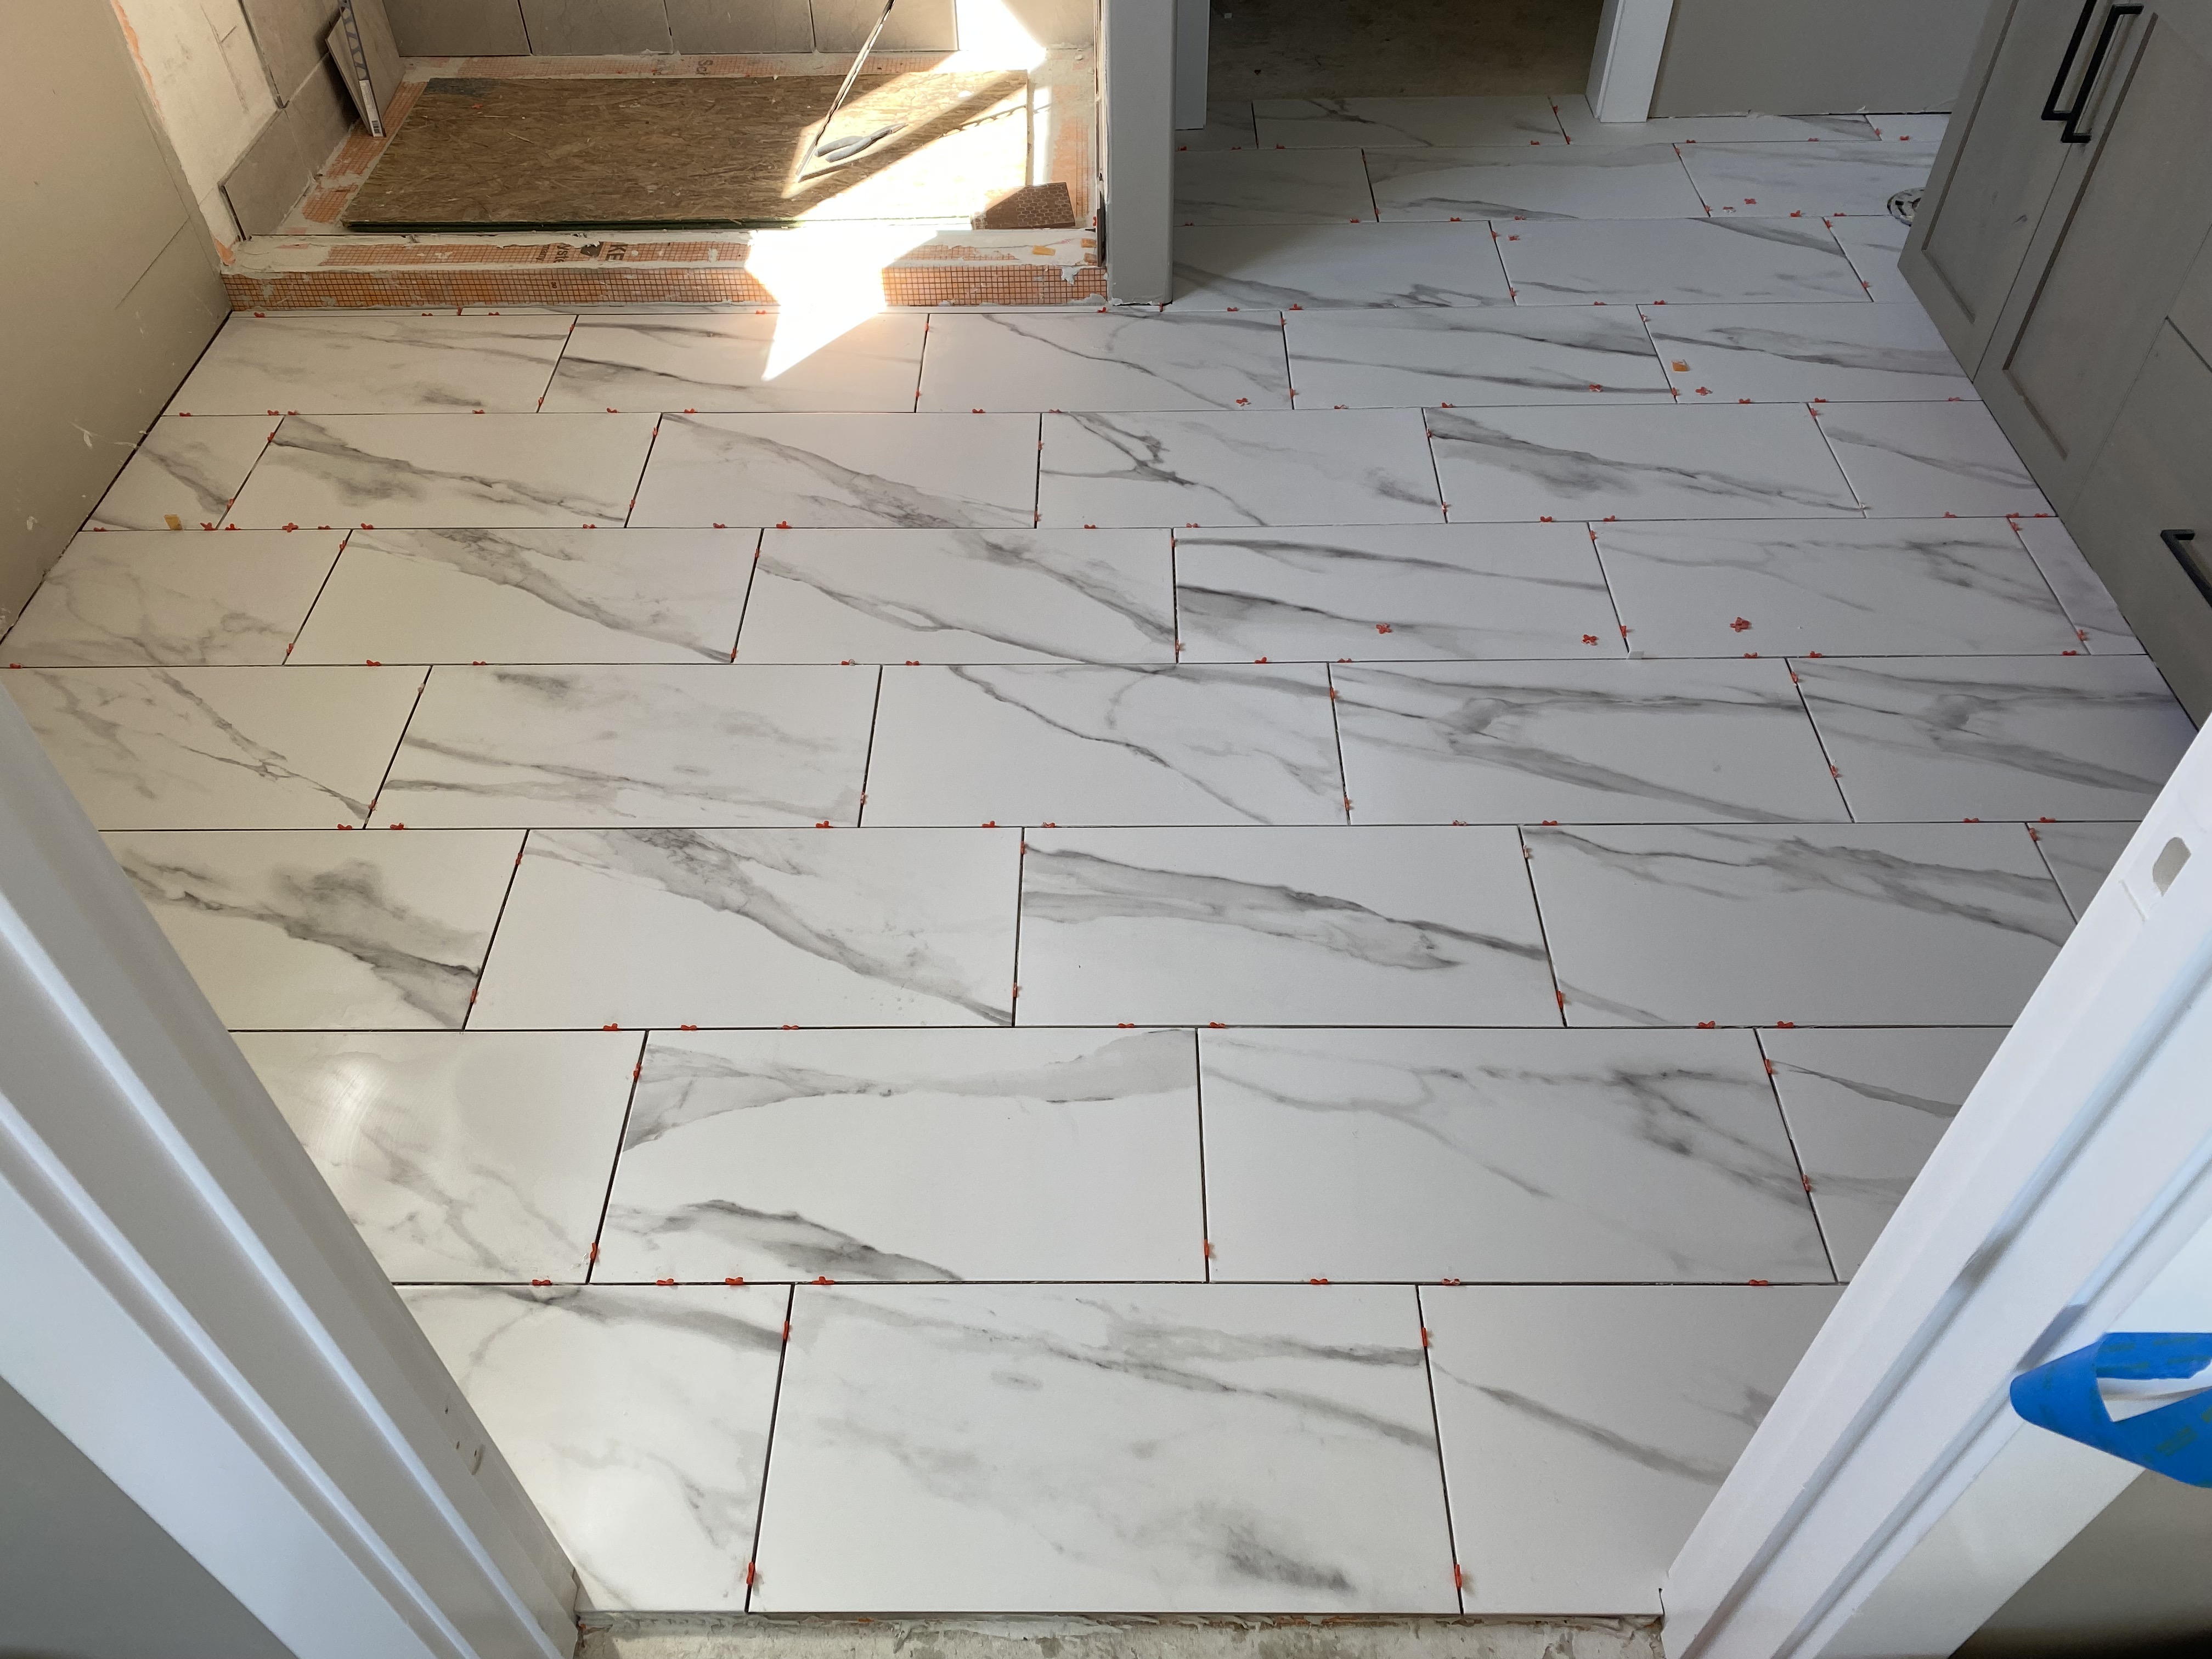
With wet thinset underneath the porcelain tile now has to dry. Tomorrow we will come back to tile the rest of the shower walls.
Tile the walls:
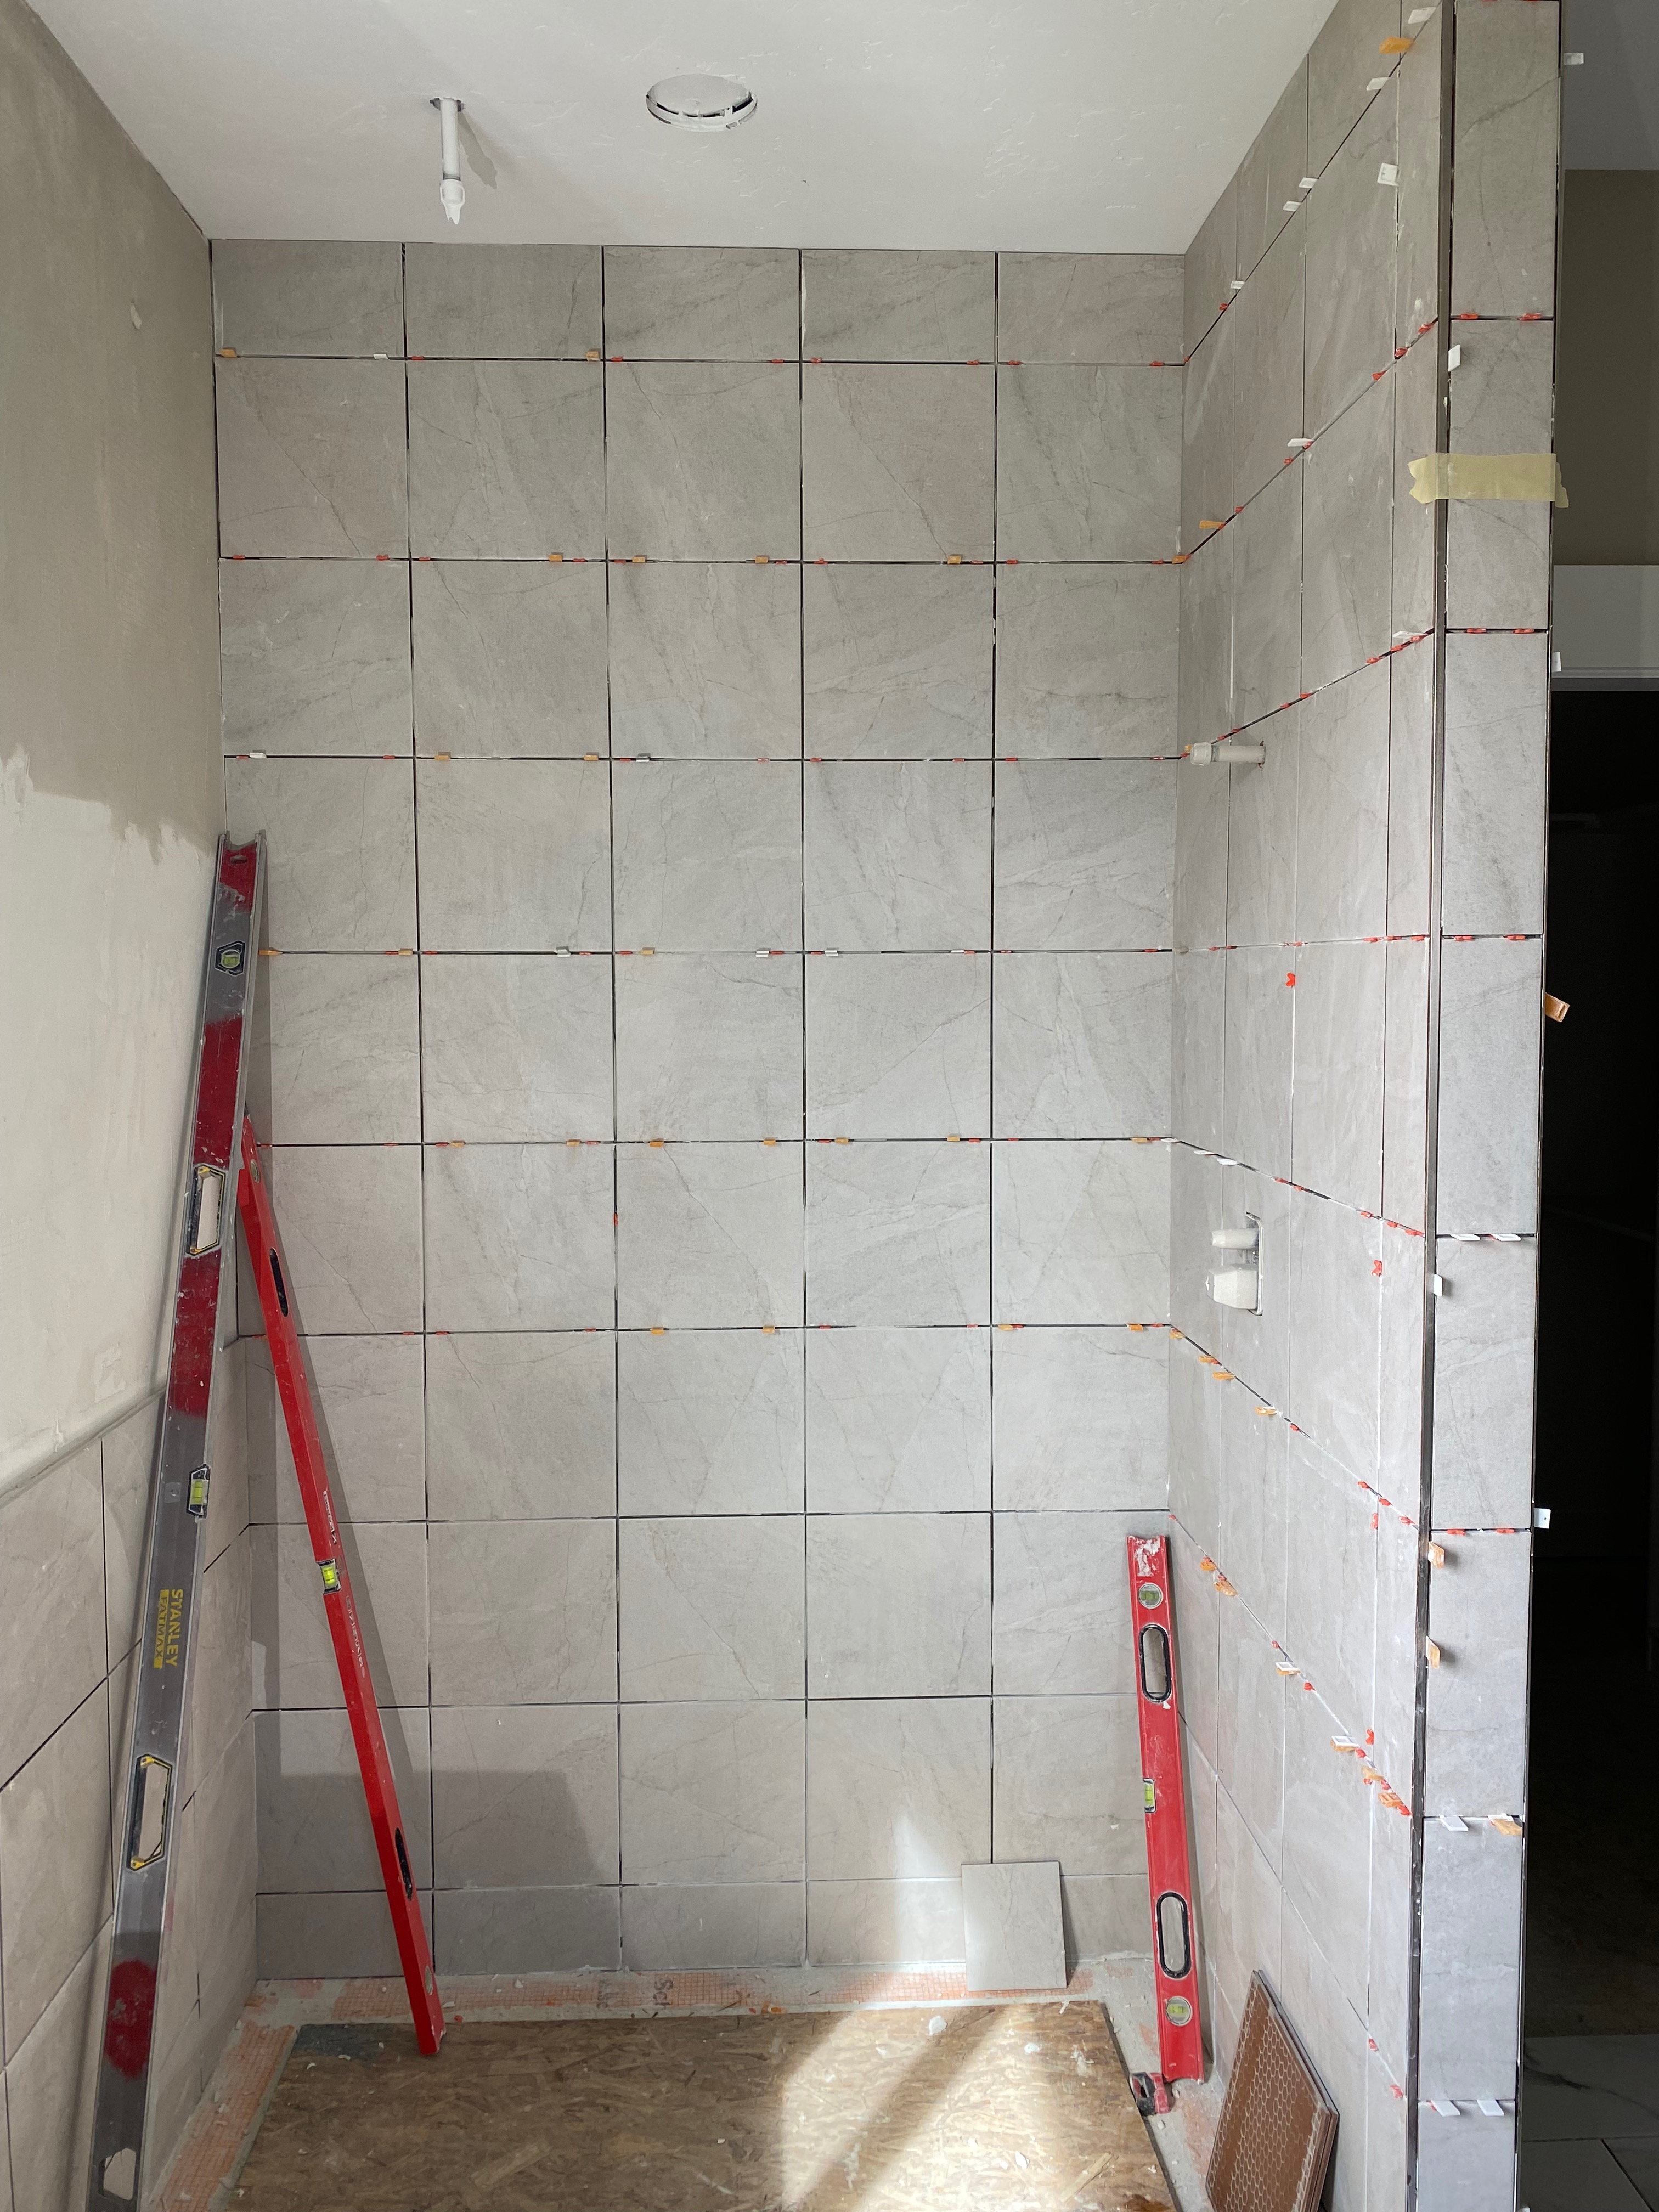
When Tiling the walls, it's important to use levels as often as possible.
Tiles often come in different sizes and shapes so it requires constant effort and skill to build a shower properly.
Make sure your get at least 90% coverage on the thin set behind the tile when tiling a shower wall. This helps to ensure for a shower system which will last for years and years without issue.
With the walls almost complete its now time to waterproof the floor:
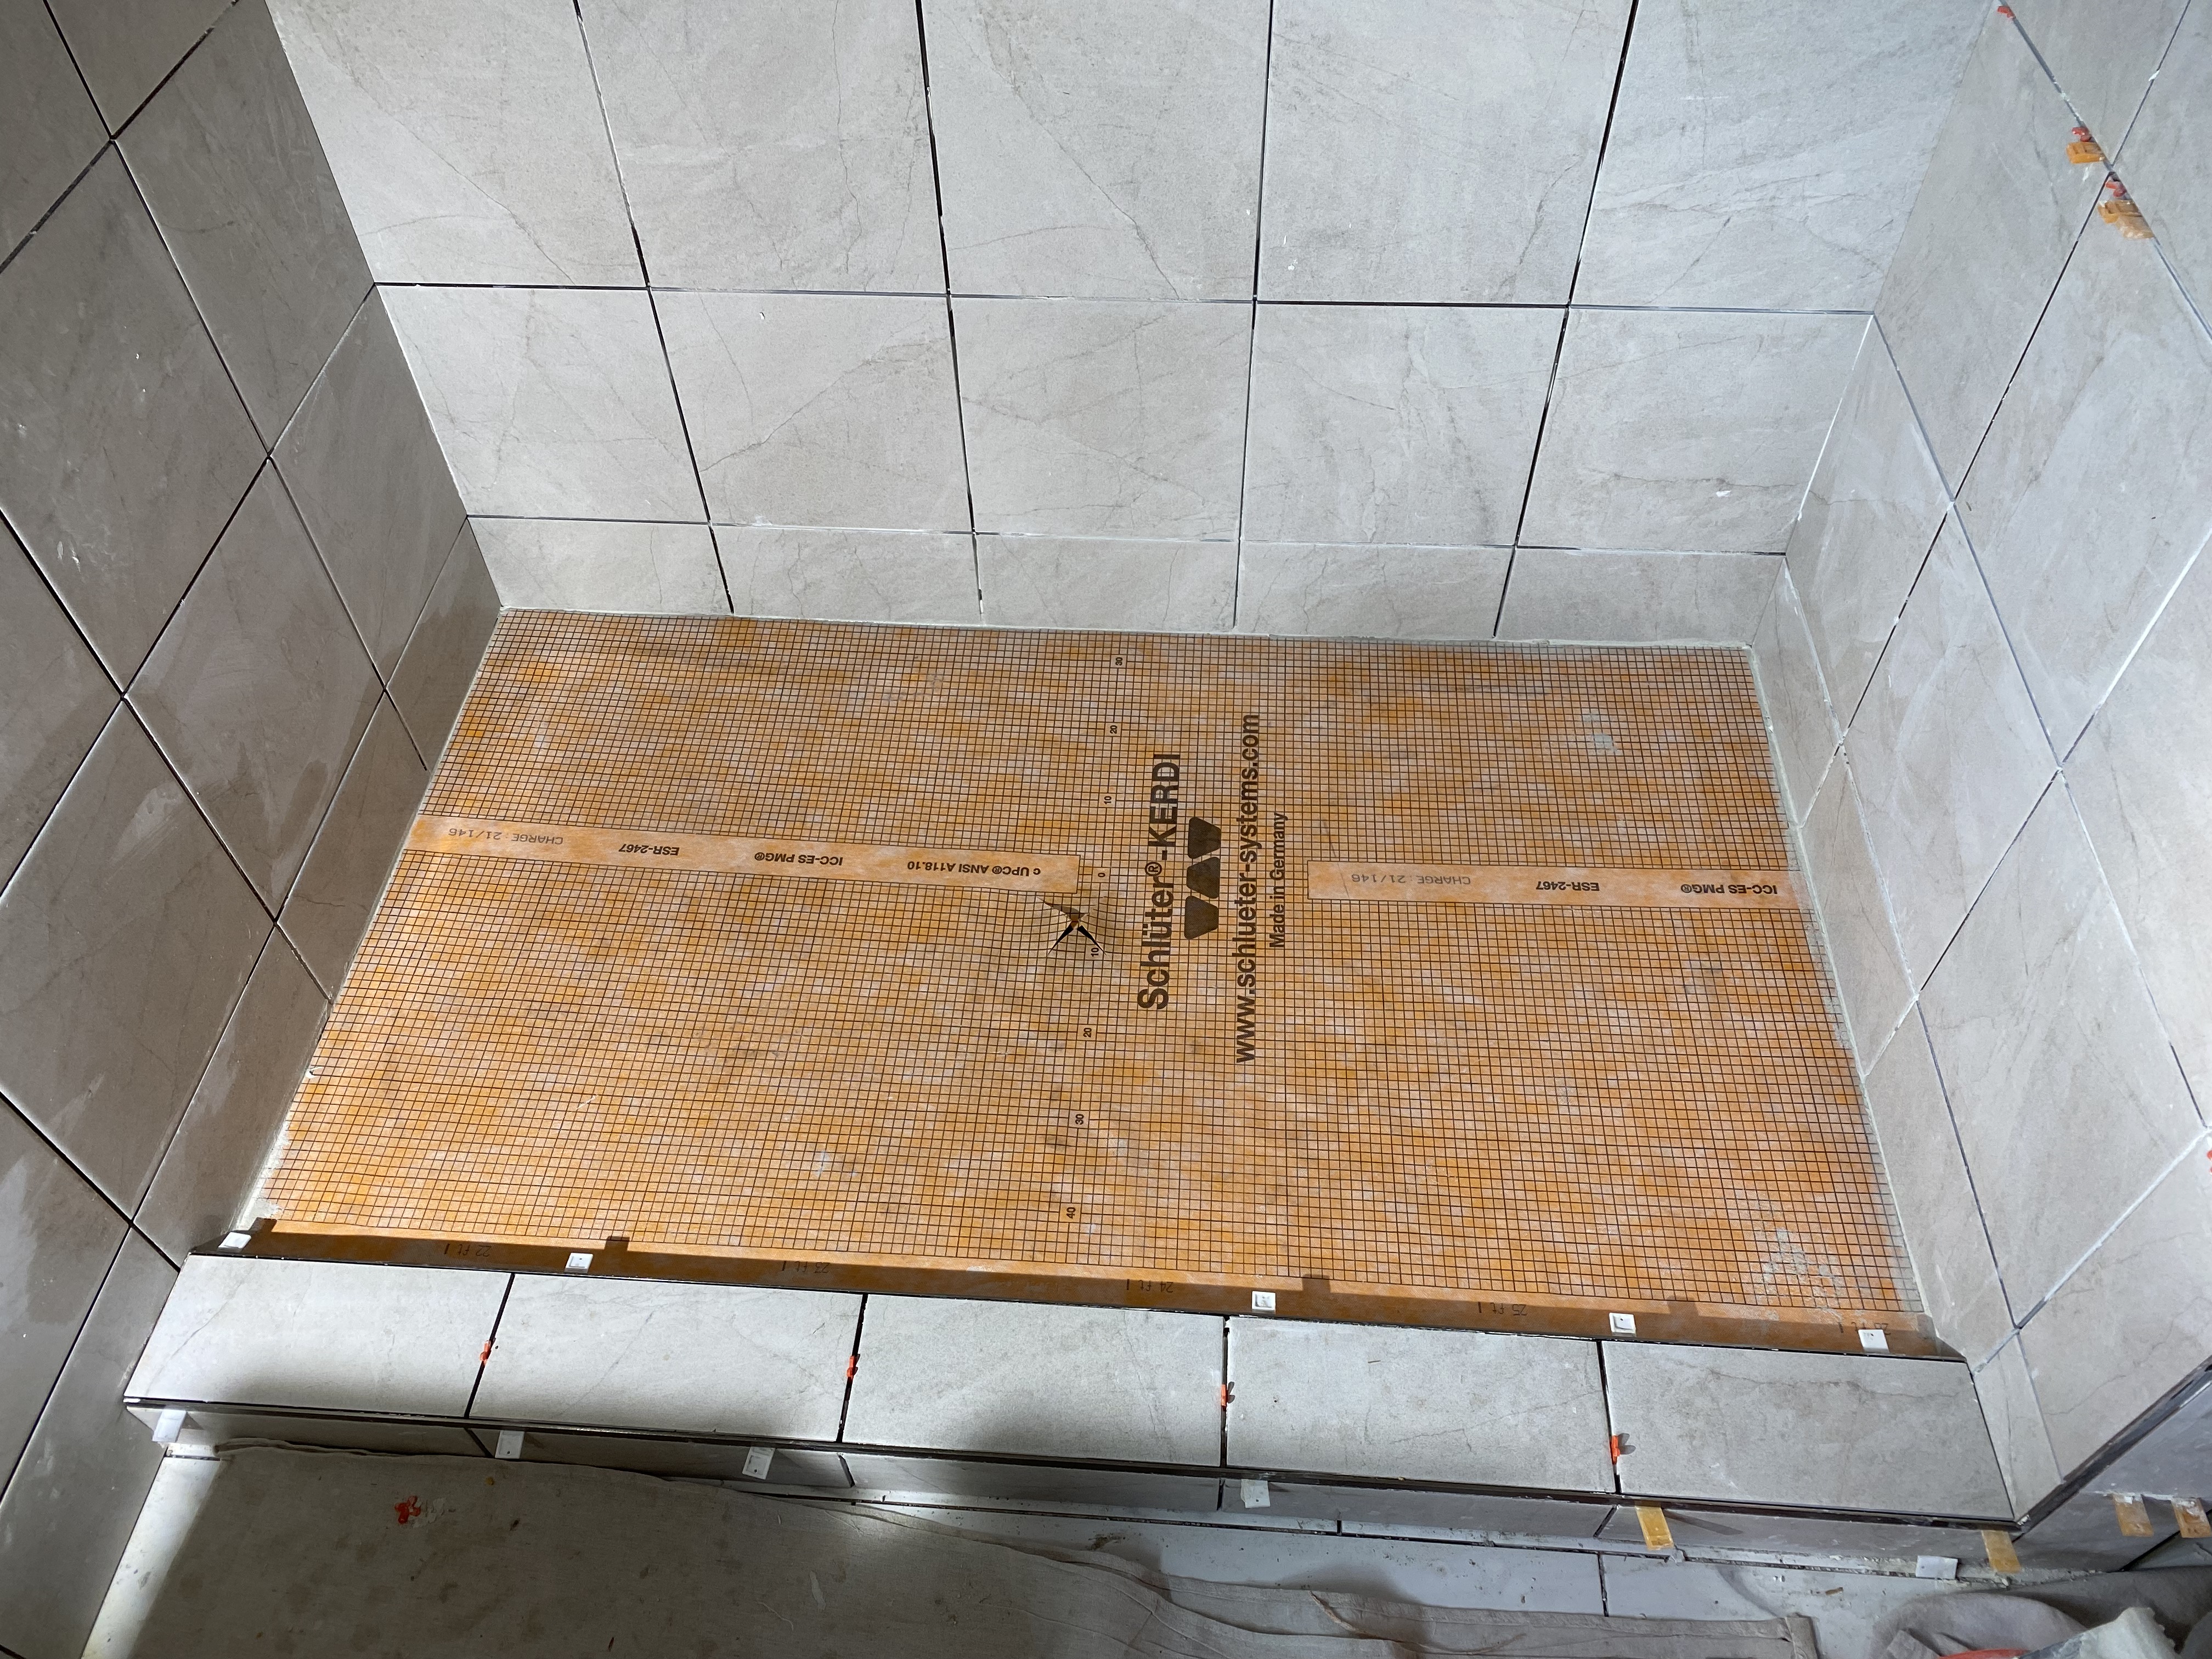
Waterproofing the floor is the final piece of the waterproof membrane application.
Once it dries, you have a complete waterproof shower system.
The next morning we returned to tile the shower floor:
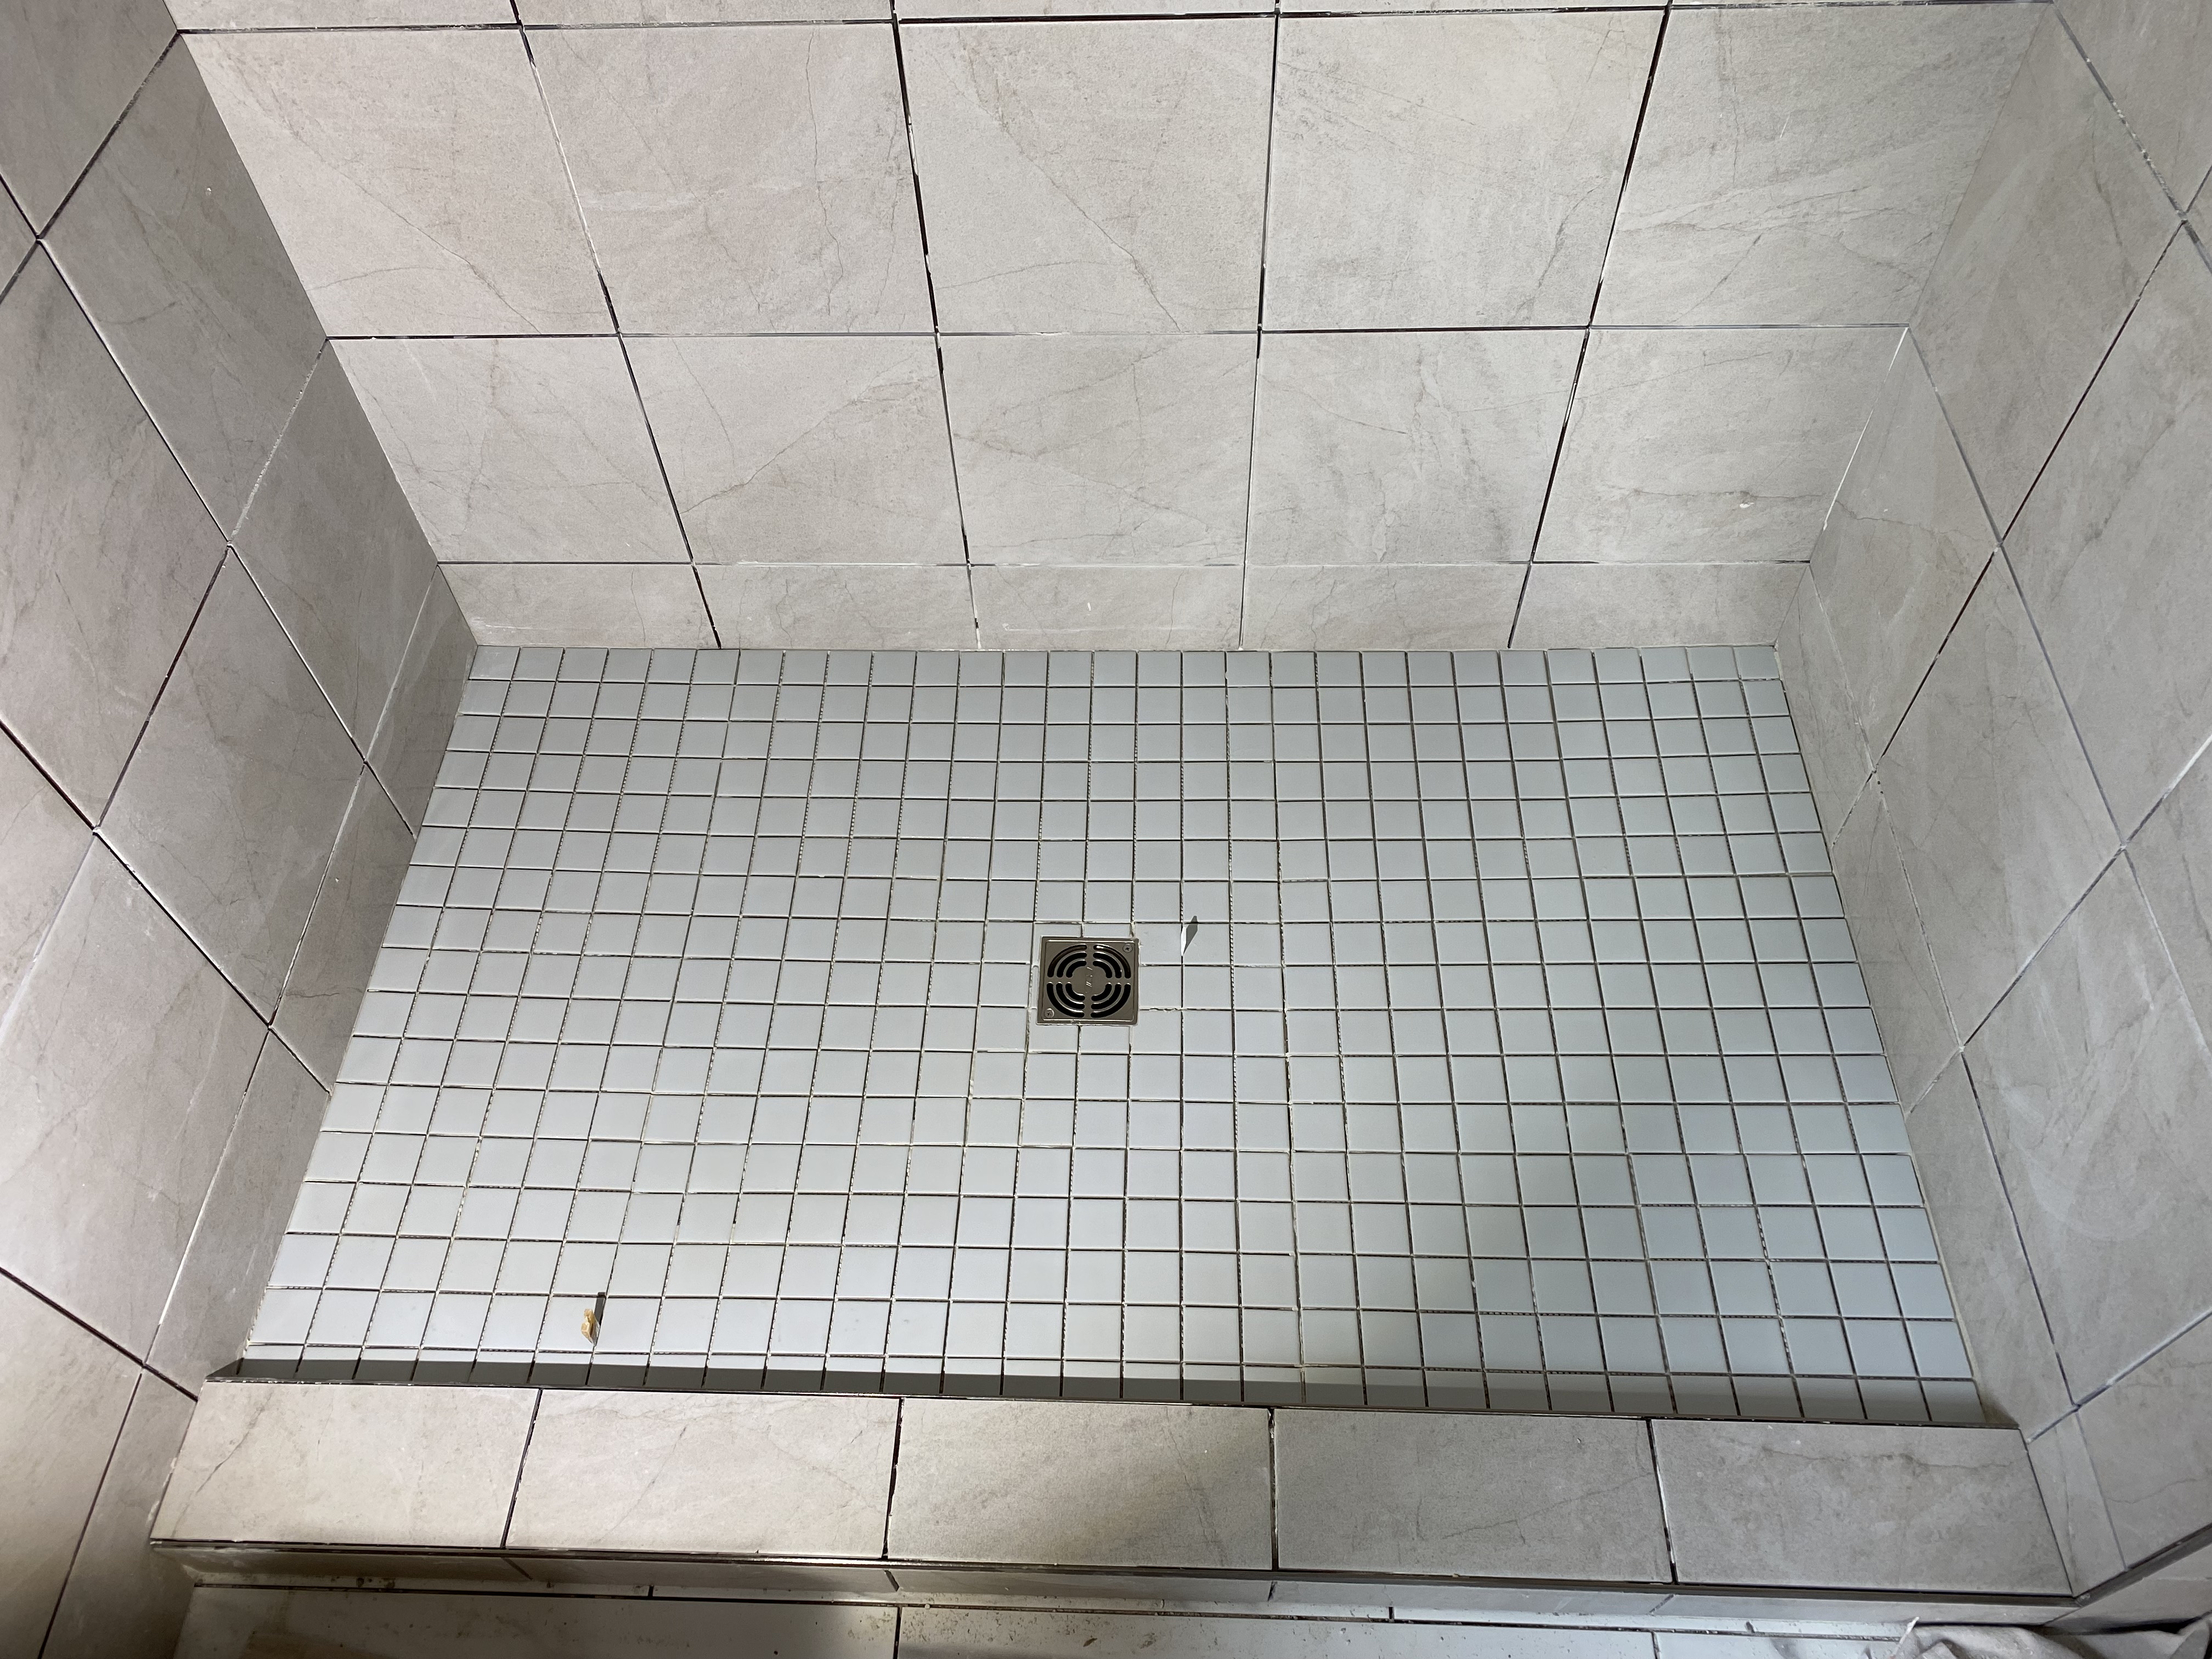
Tiling the Shower floor is extremely important.
You can always tell how experienced a tile setter is by how evenly that floor matches up to the edges of the drain.
You always want a great experience for the homeowners when their feet meet the floor on their brand new shower. A properly installed shower floor will always give them the best experience.
After all the tile is set, we come back to clean out the grout joints and grout the tile.
A good grout job finalizes the waterproof shower build.
When set properly, the grout doesn't allow any water to pass through to the membrane. Instead, gravity will pull the water towards the drain and out of the shower. This is how a waterproof shower system is designed to function.
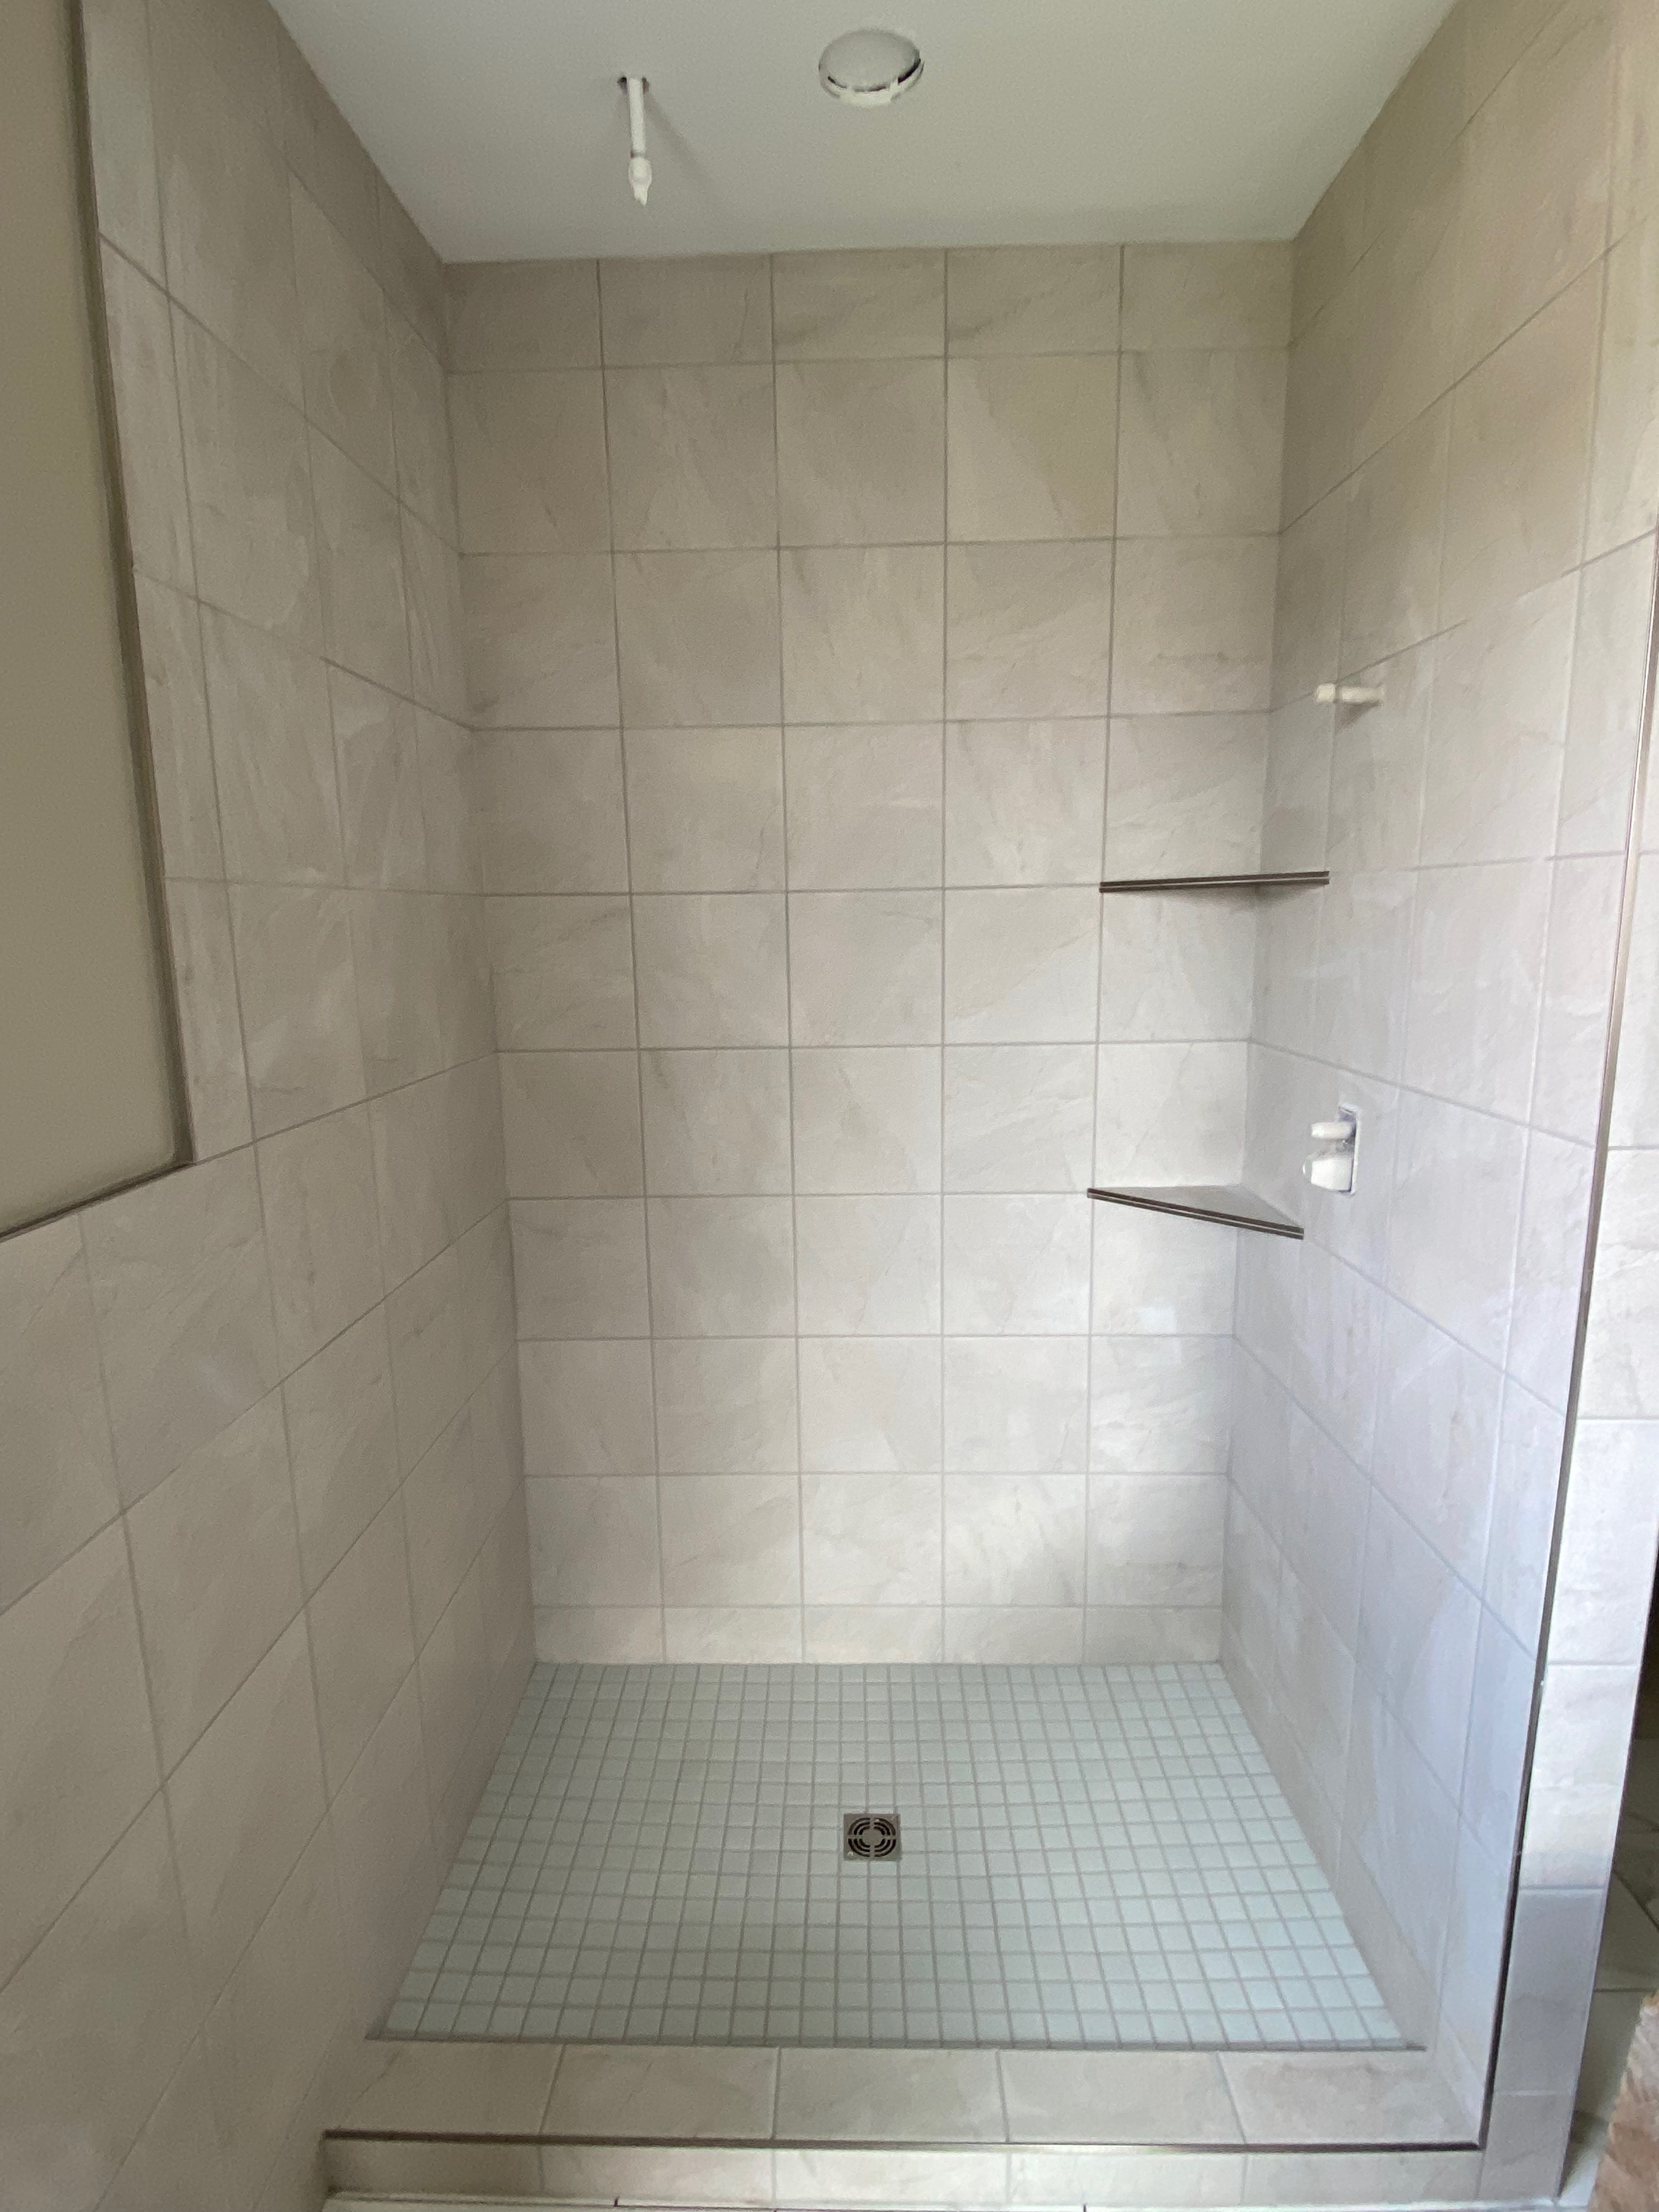
This waterproof shower build took place over the span of 2 weeks. The tile setter was Micah Kissee.
After the showers completion, we had to wait for the other trades to come in and finish their work.
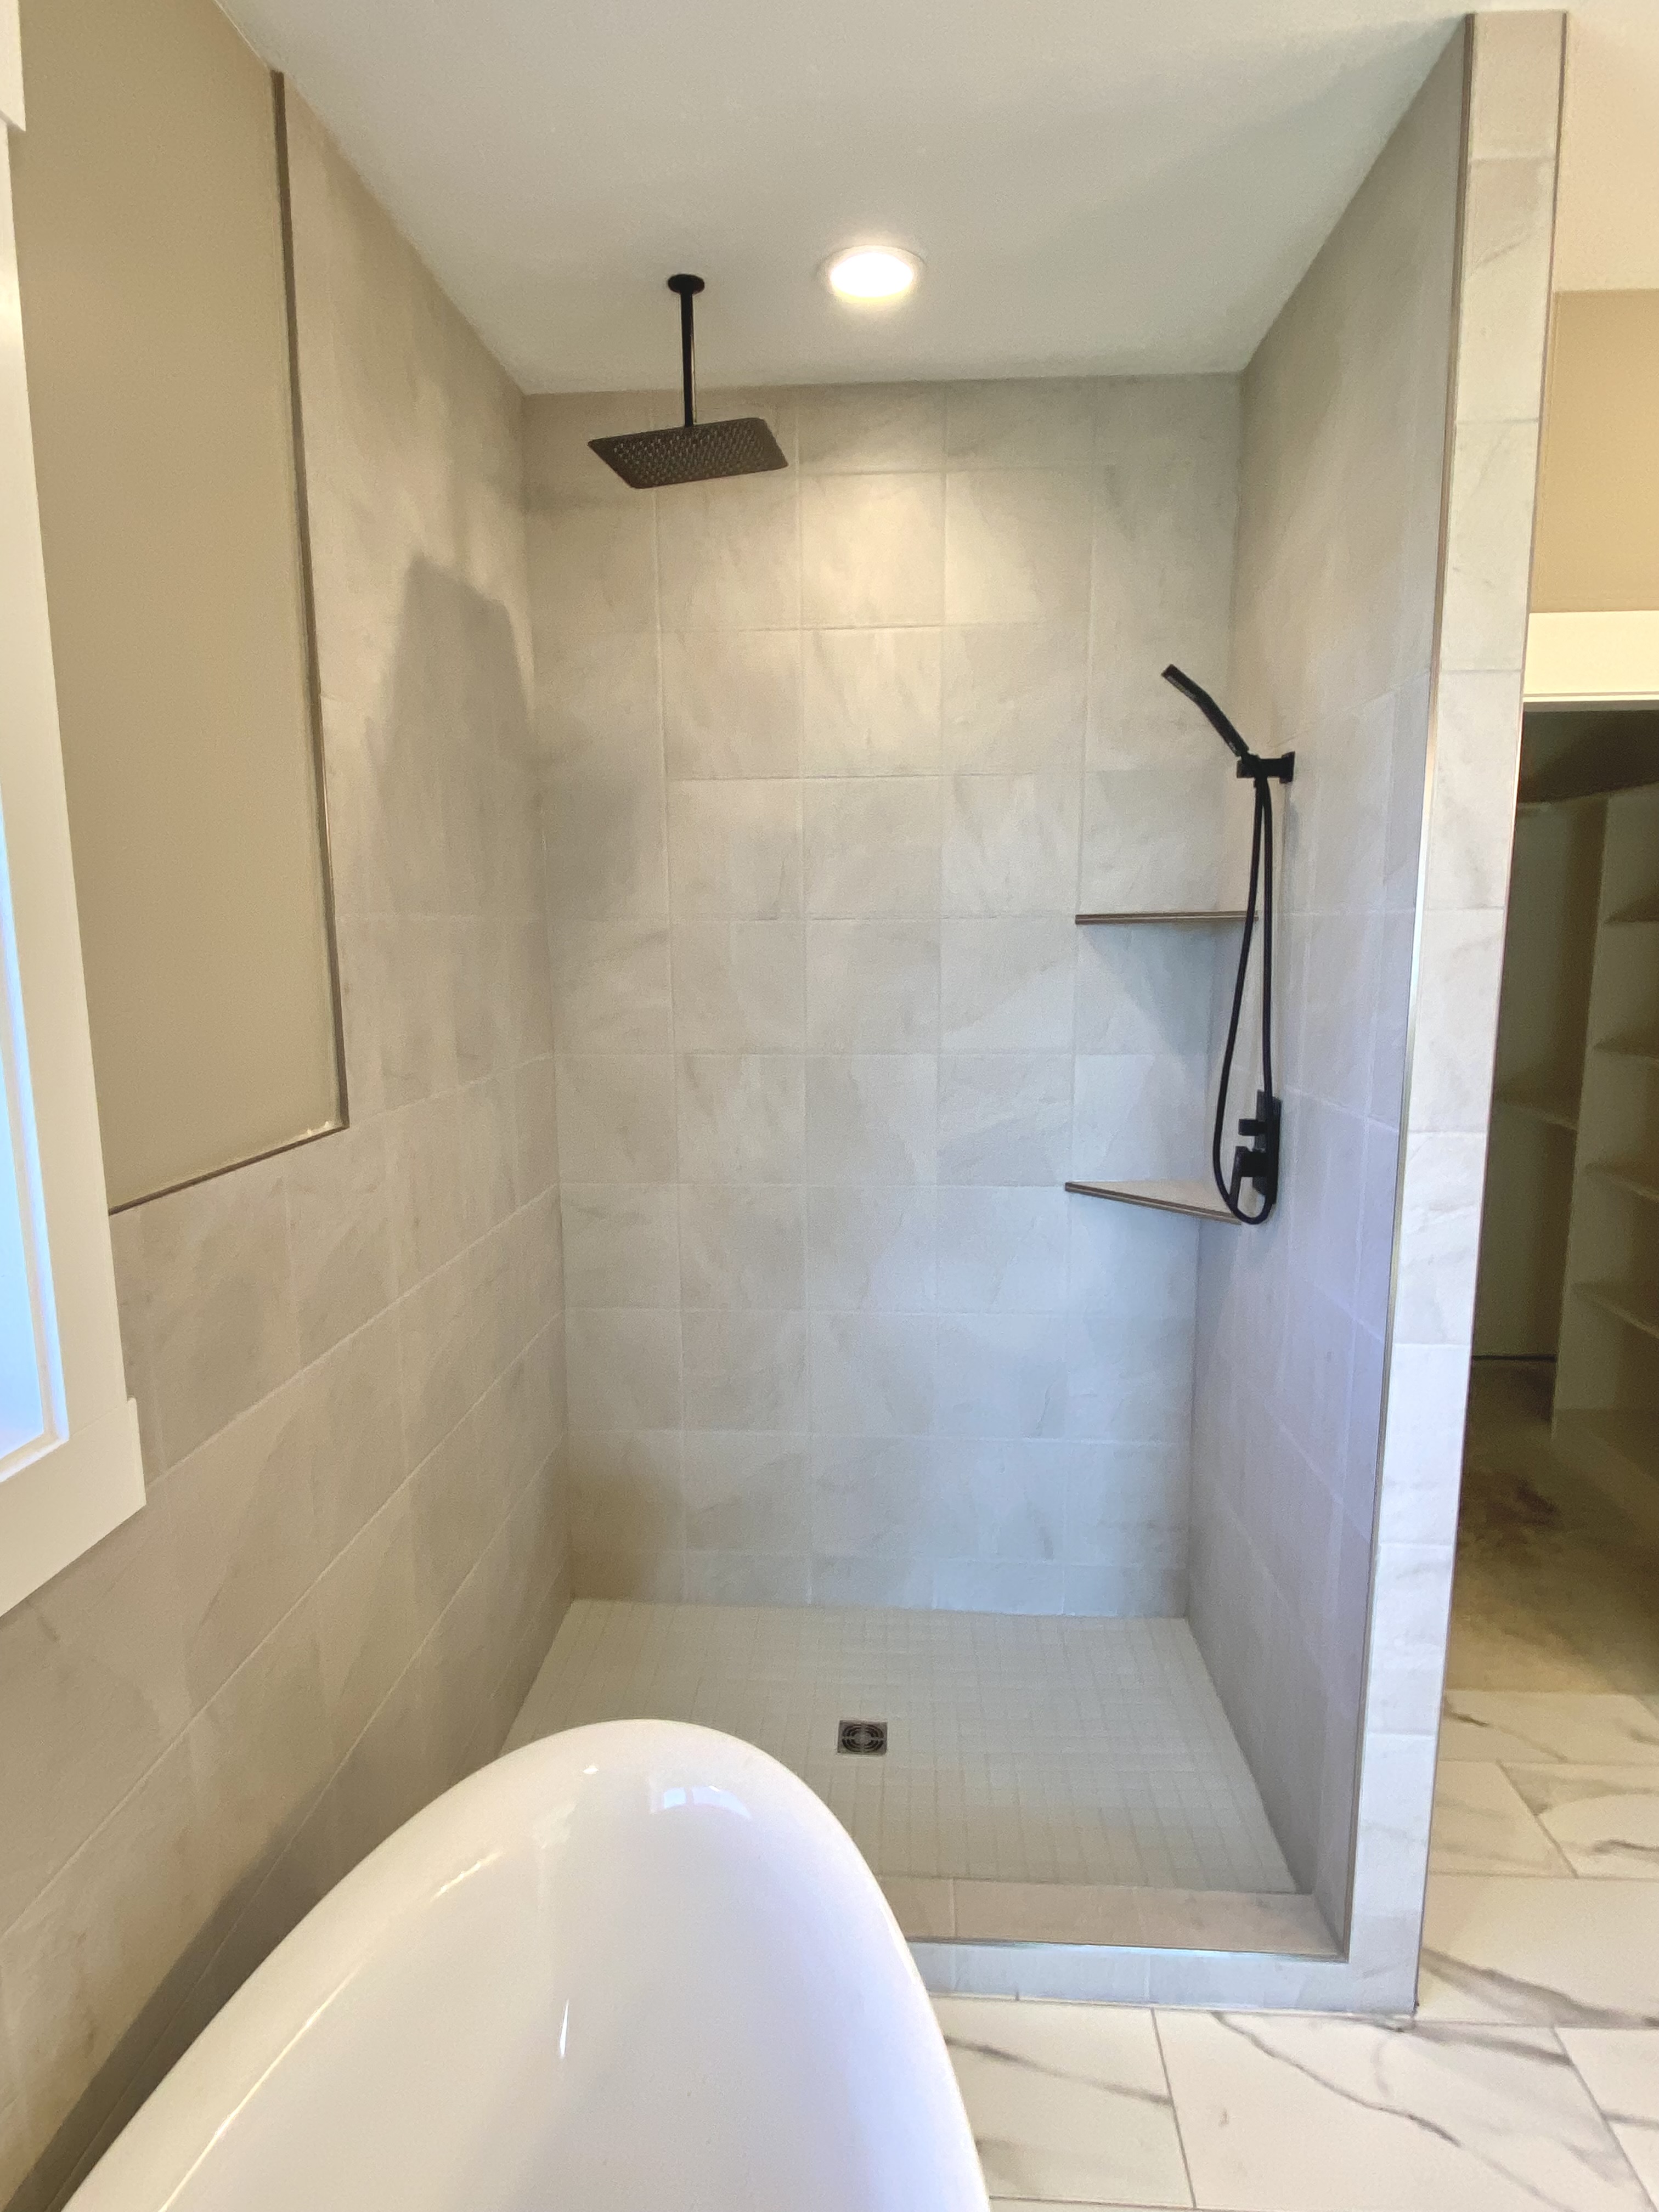
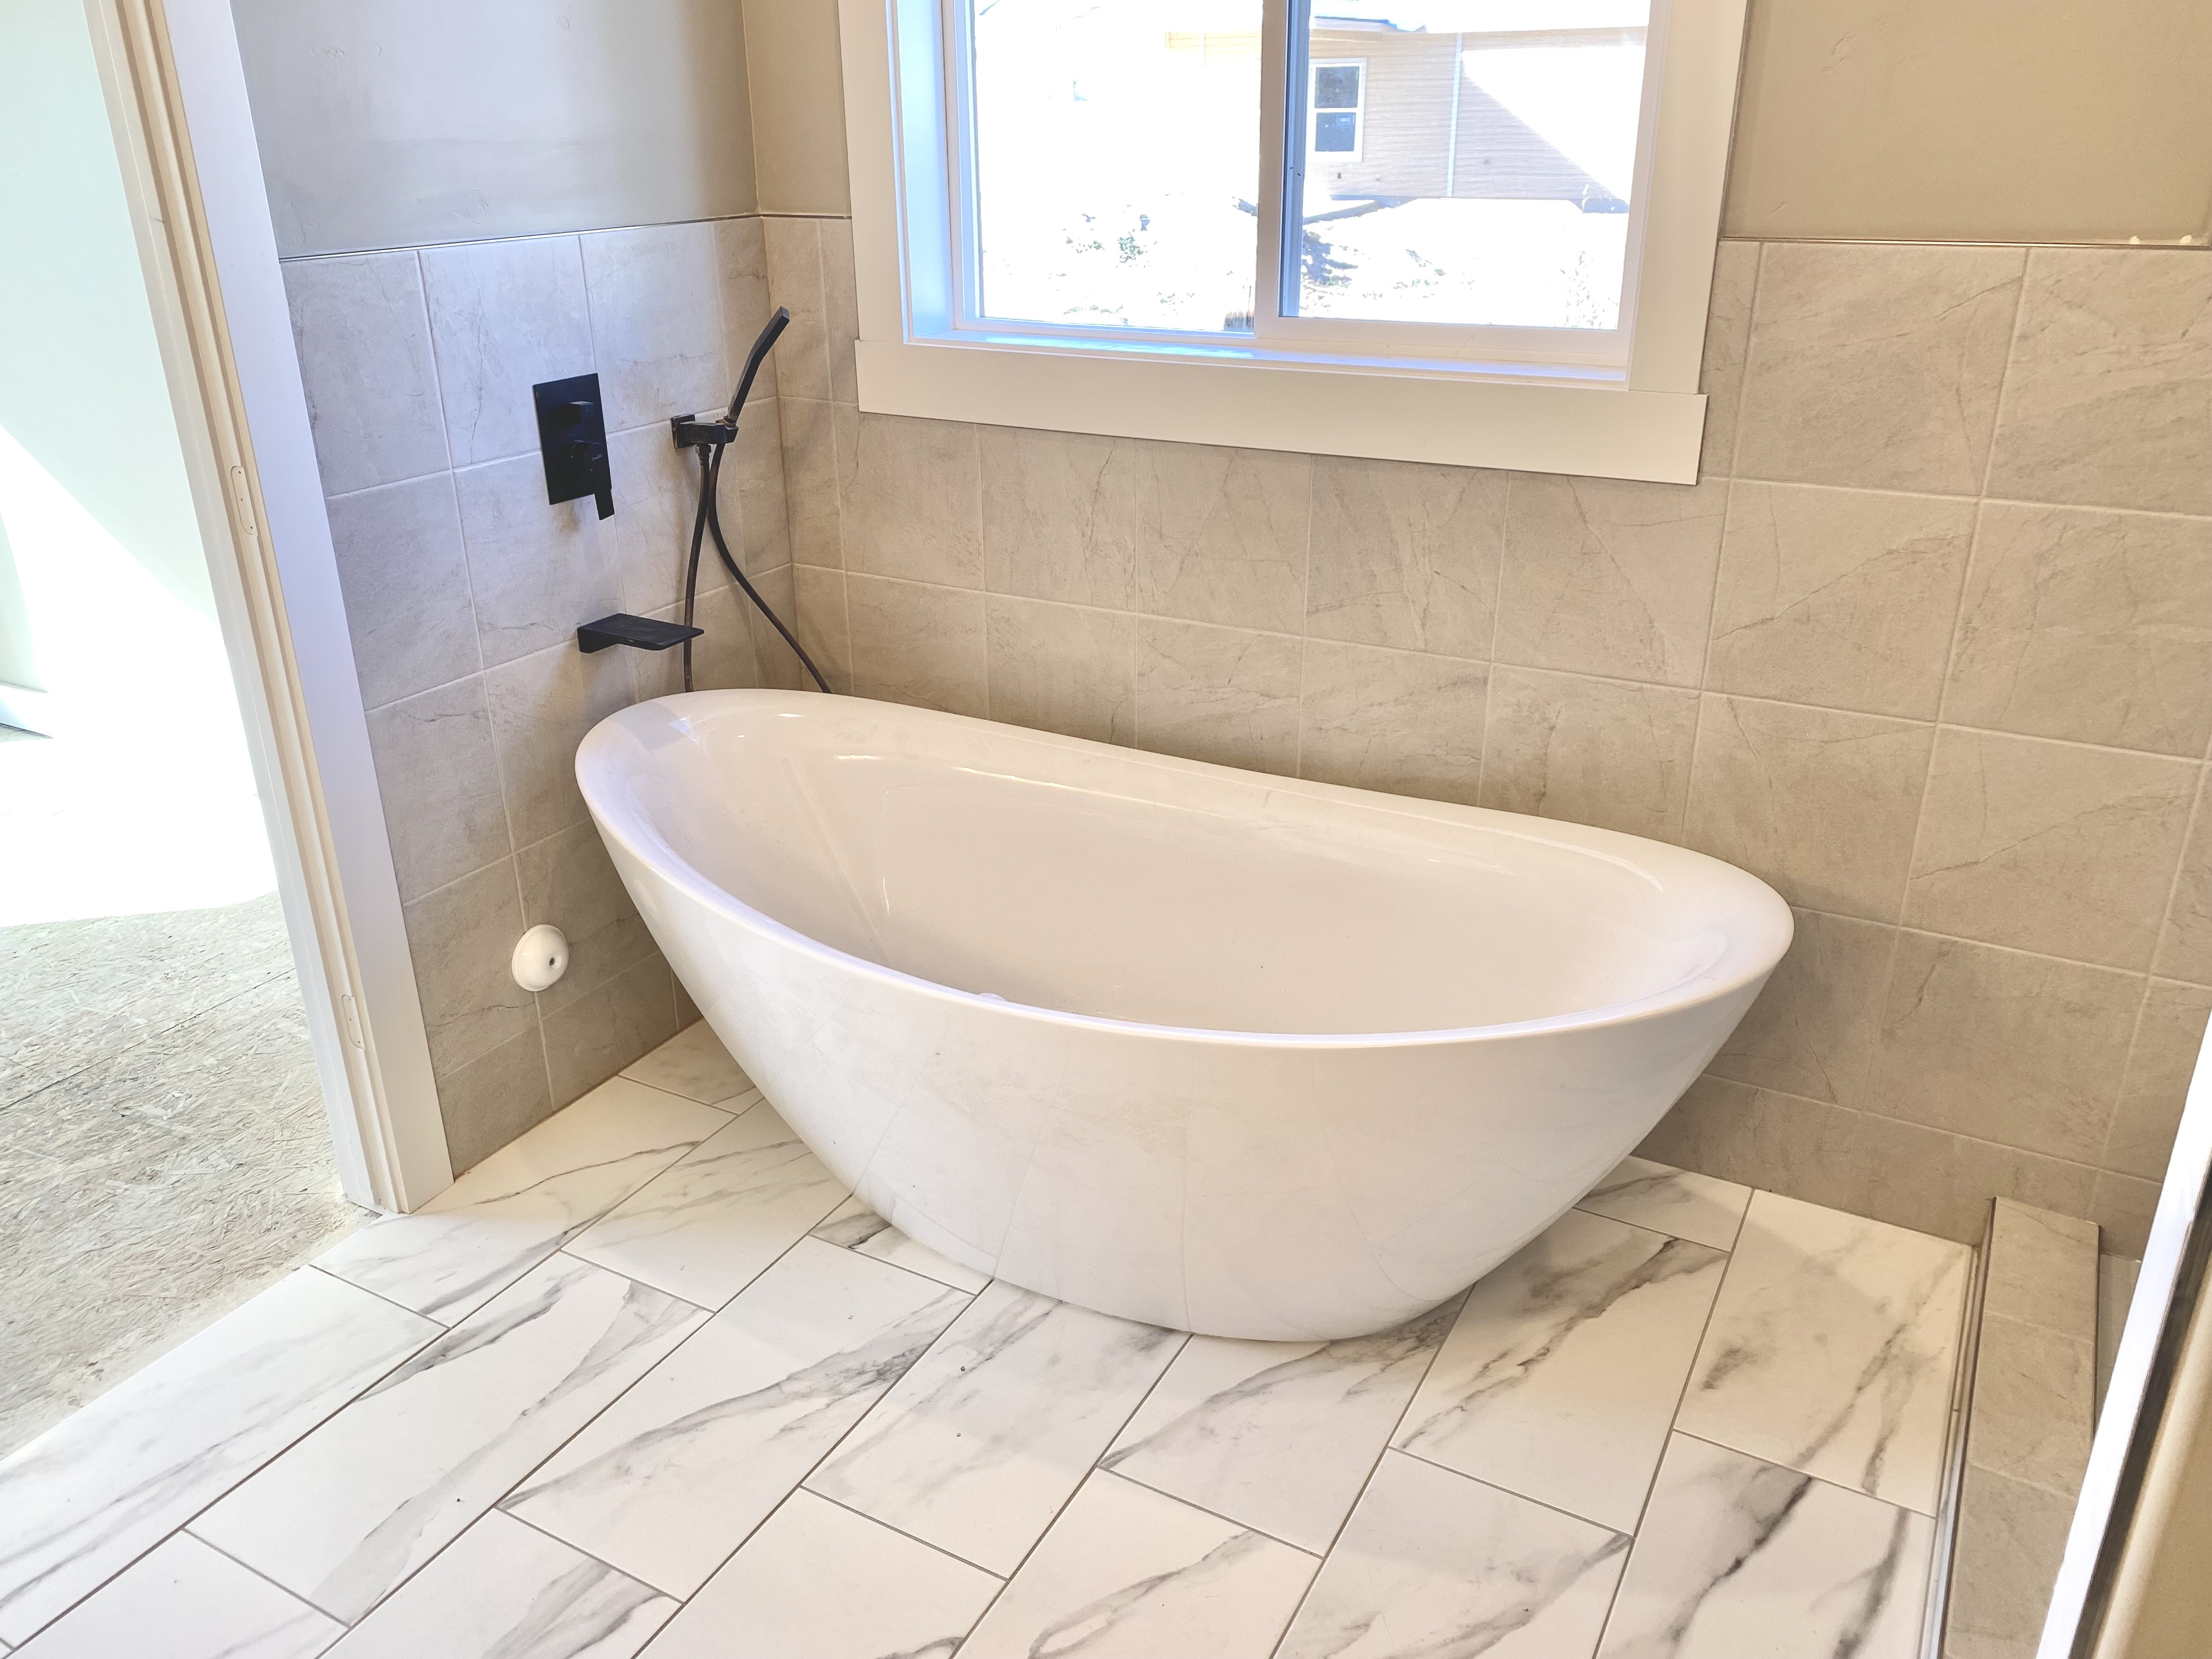
Here's the final photos of this new construction master bathroom build for Hannu Homes, In Payette Idaho.
Master Shower:
Full Room:
Tub View:
And That's how it's done.
From a bare home to a beautifully finished master bathroom.
I hope you've enjoyed the journey of this tile build by Timeless Creations Tiling completed for Hannu Homes.
If you're ever in Idaho and have questions about tile or need quality tile installation, don't hesitate to reach out to us today!
Or reach out to Micah Kissee at 208-391-5009
Timeless Creations LLC